P-51D "Roto-Finish" Build Log-Project planning and fuselage/wing assembly
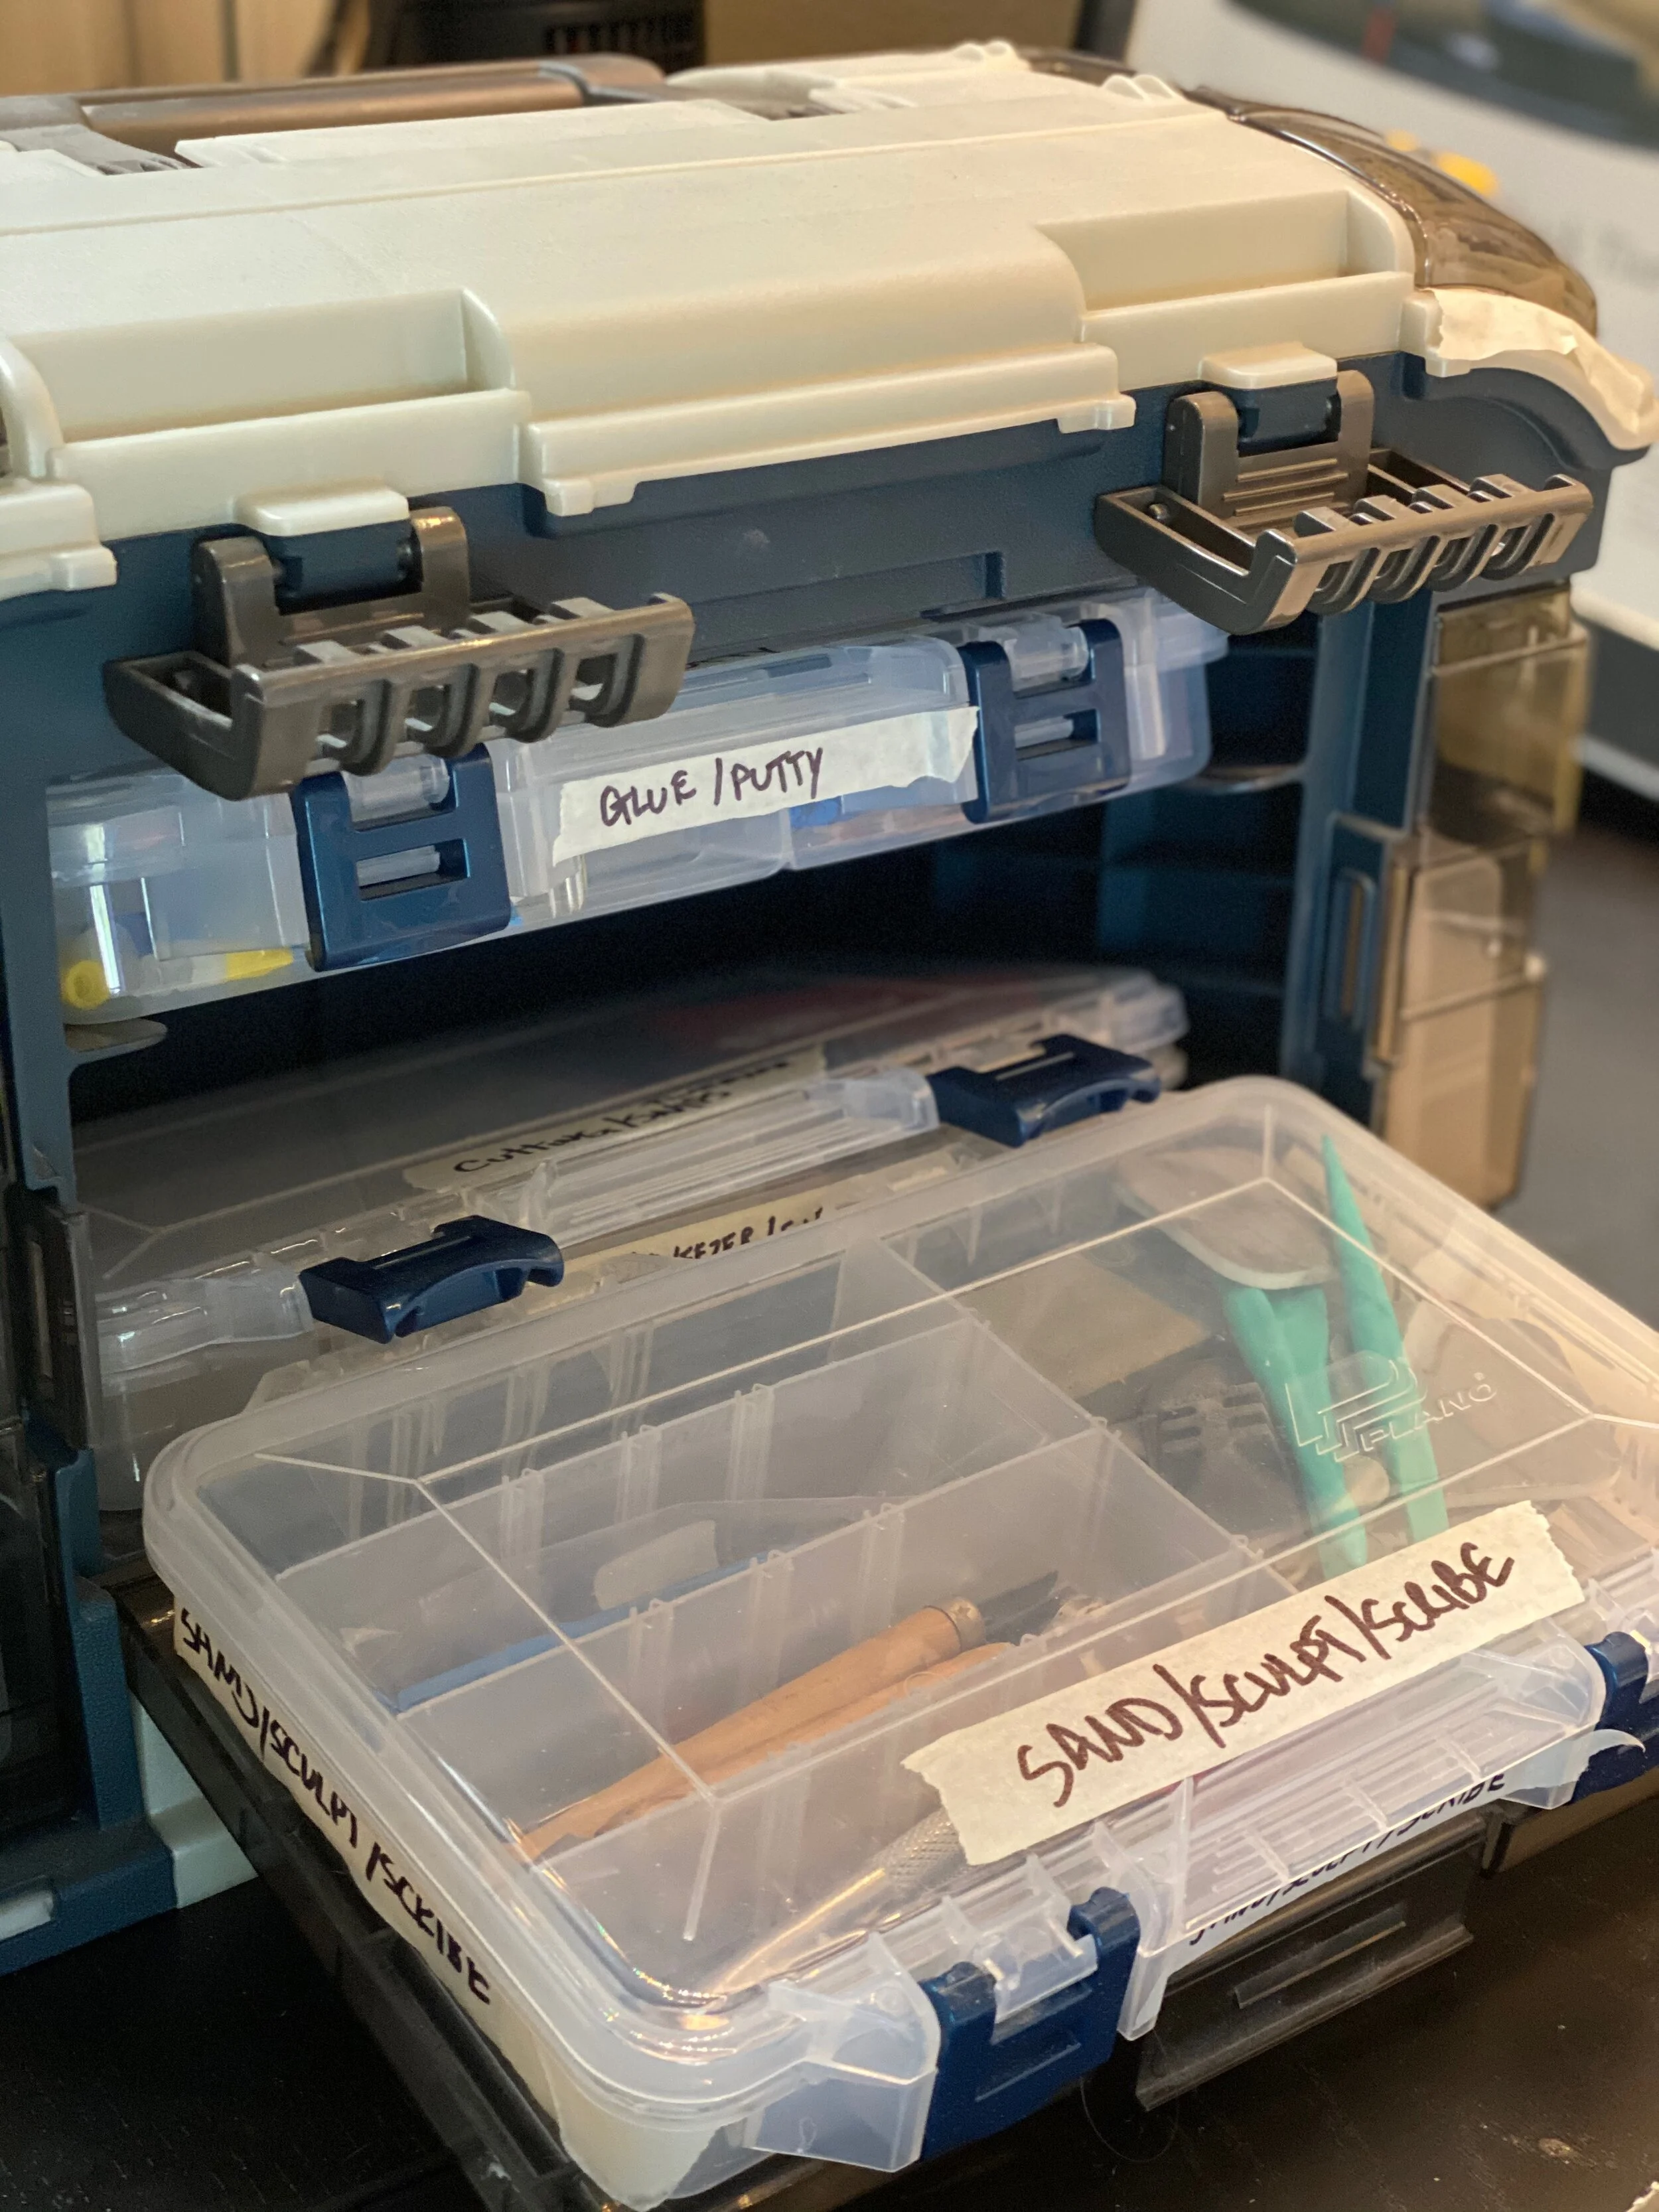
I like to have my build materials portable. This is useful for build events and also when i want to change the room to build the kit in. It also forces me to organize my tools to fit. I currently use the Plano Angled Tackle System with Three 3560 Stowaway Boxes. The stowaway boxes I categorize based upon the main functions (Glue, Sand, Shape, etc).
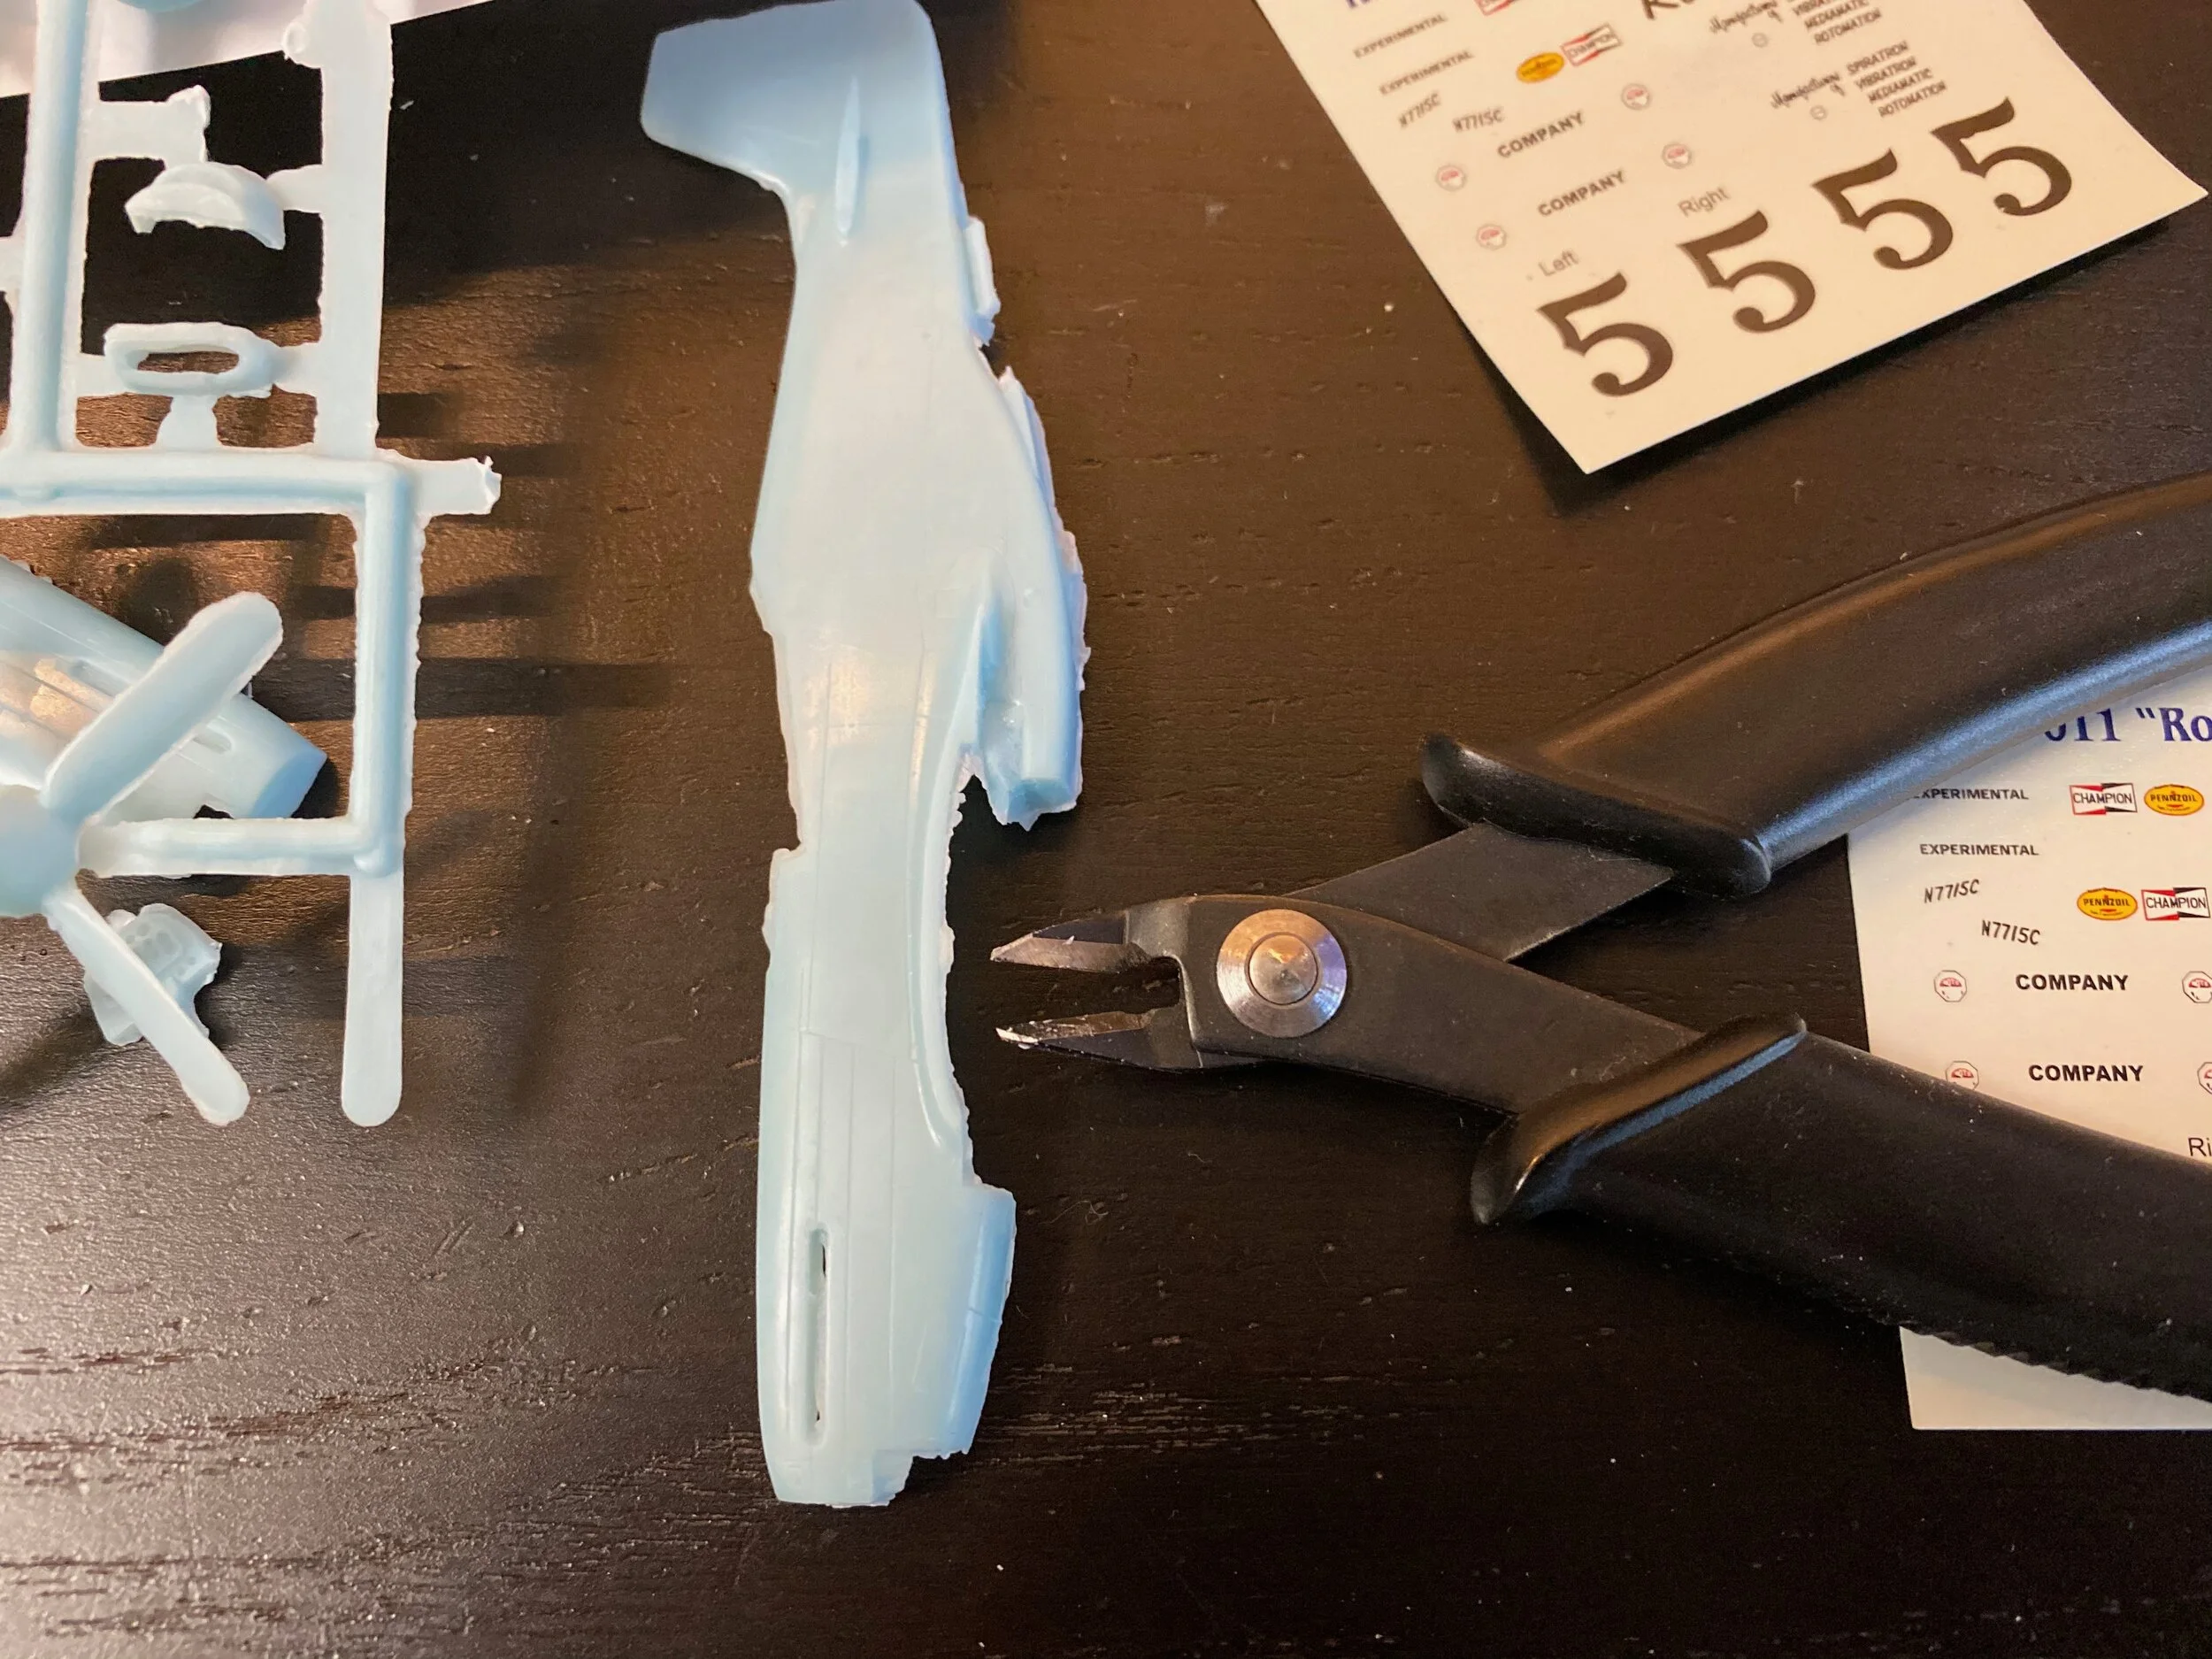
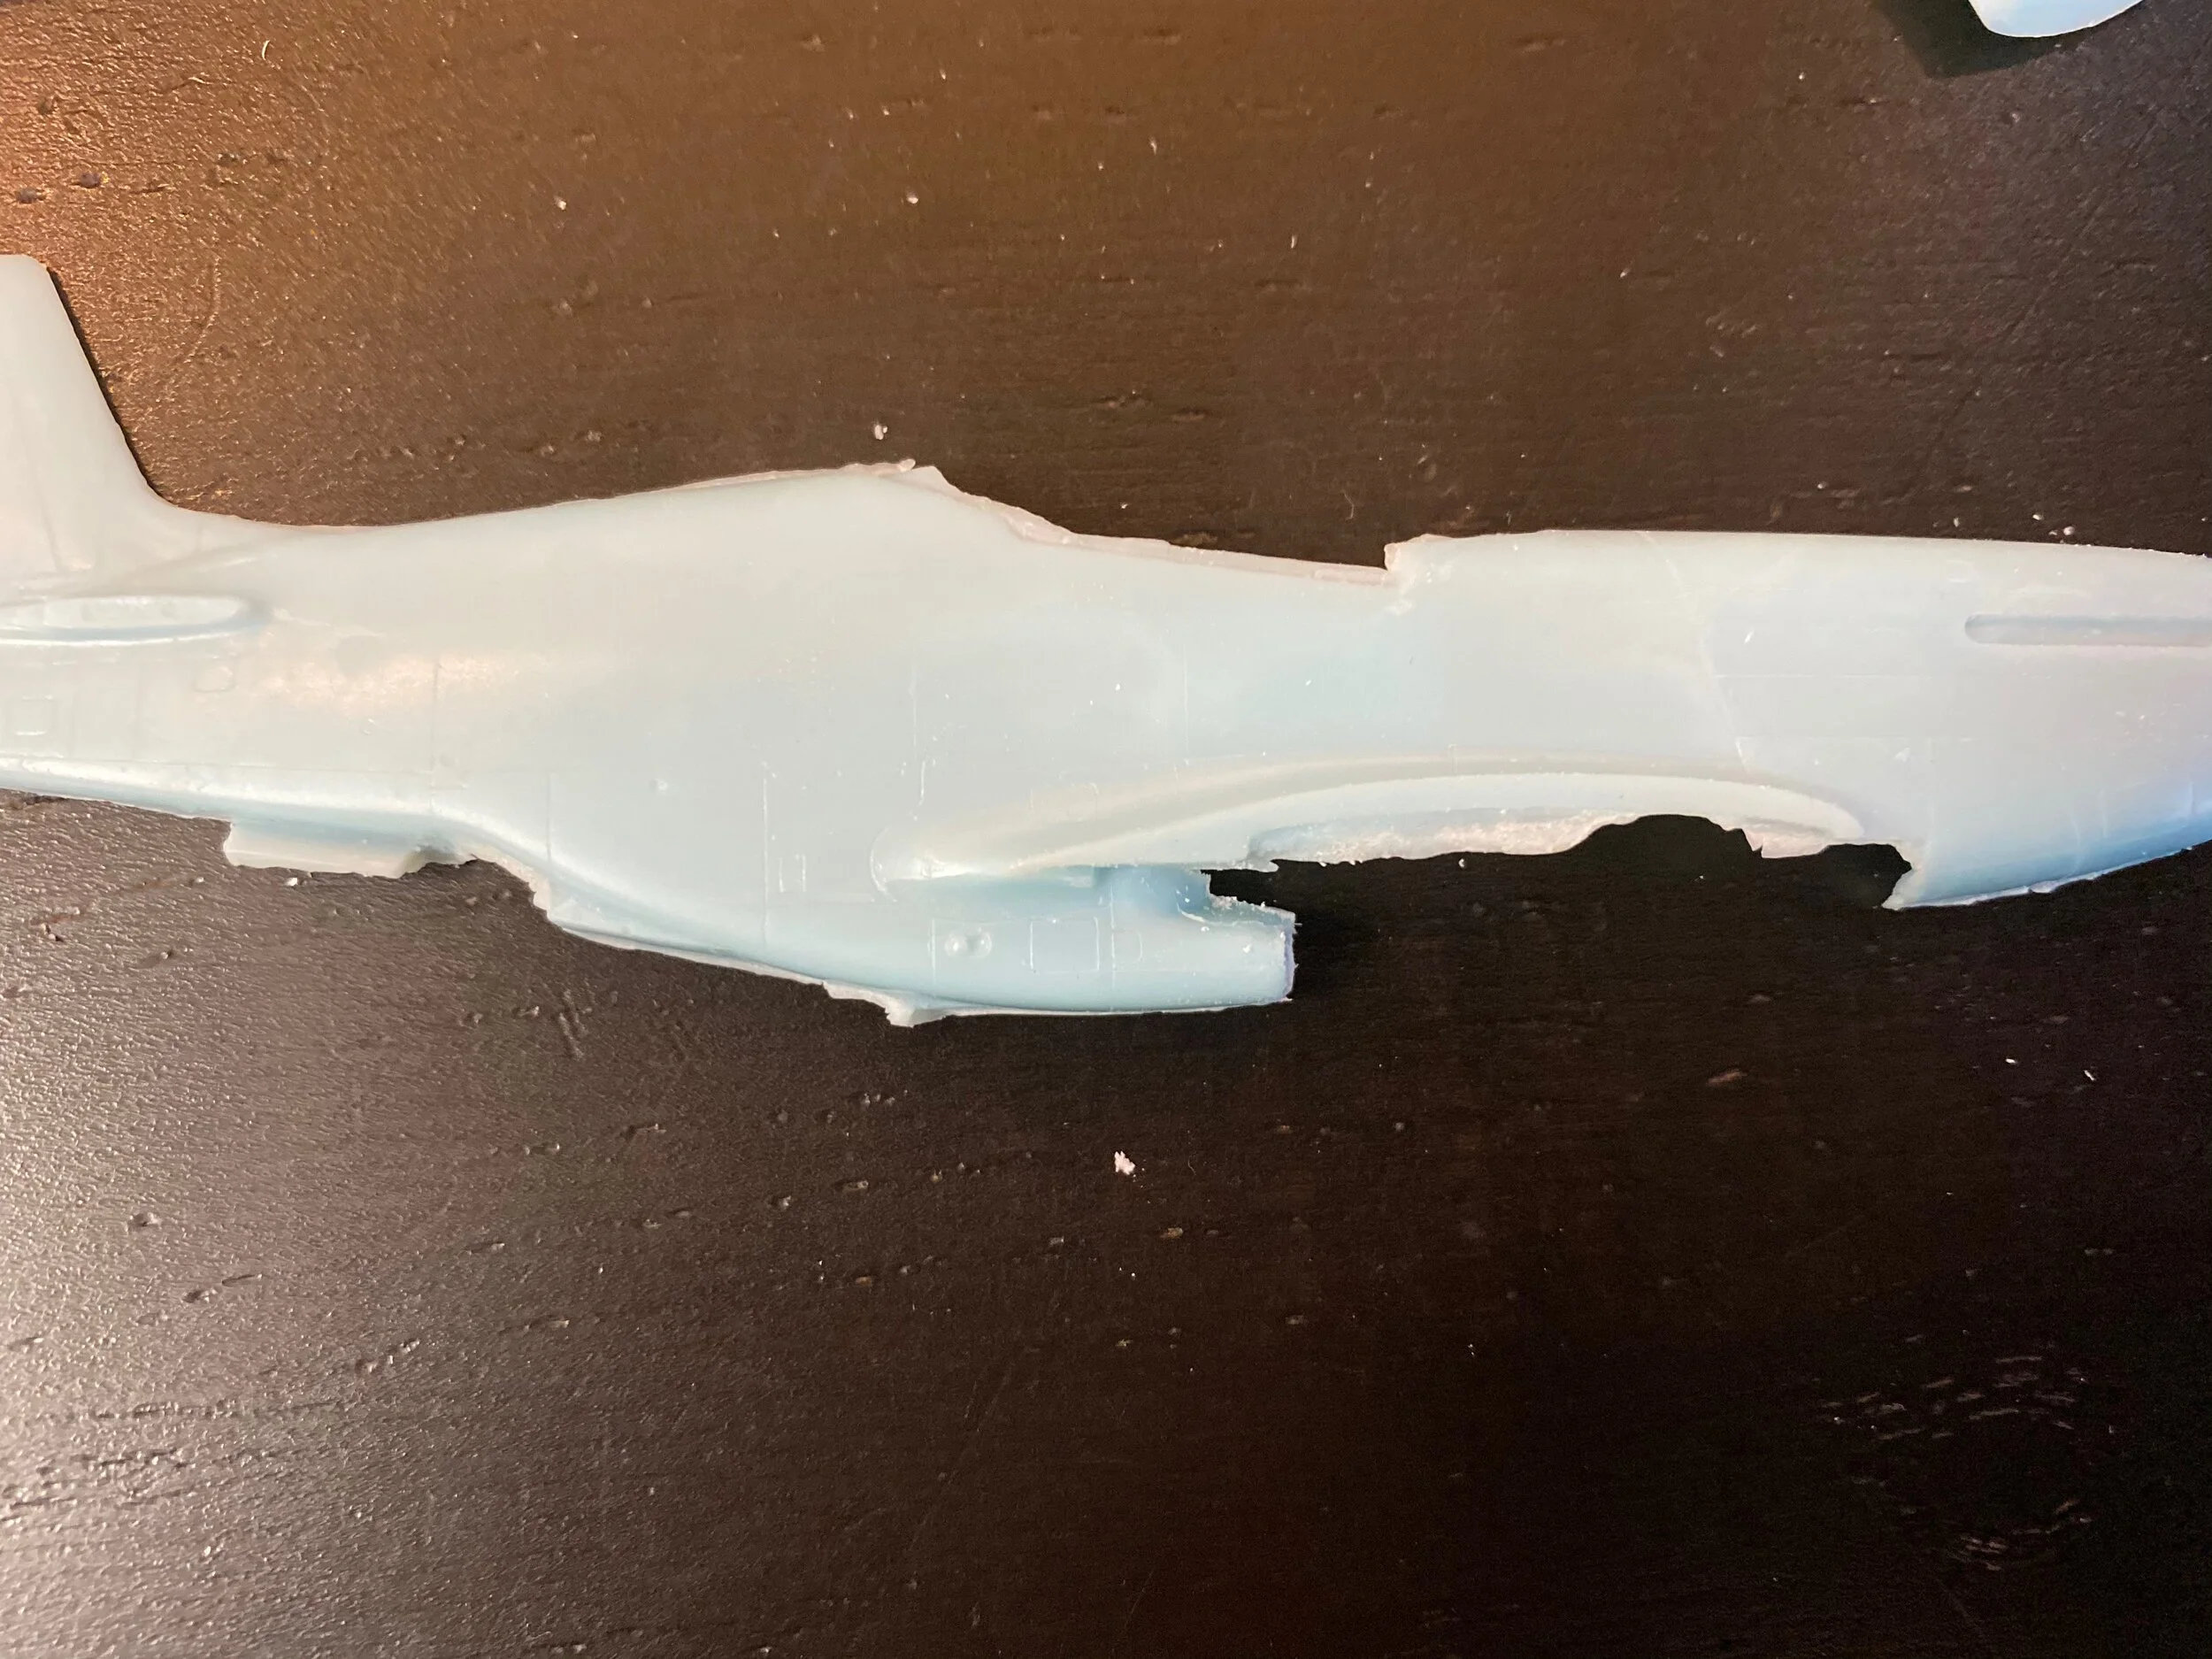
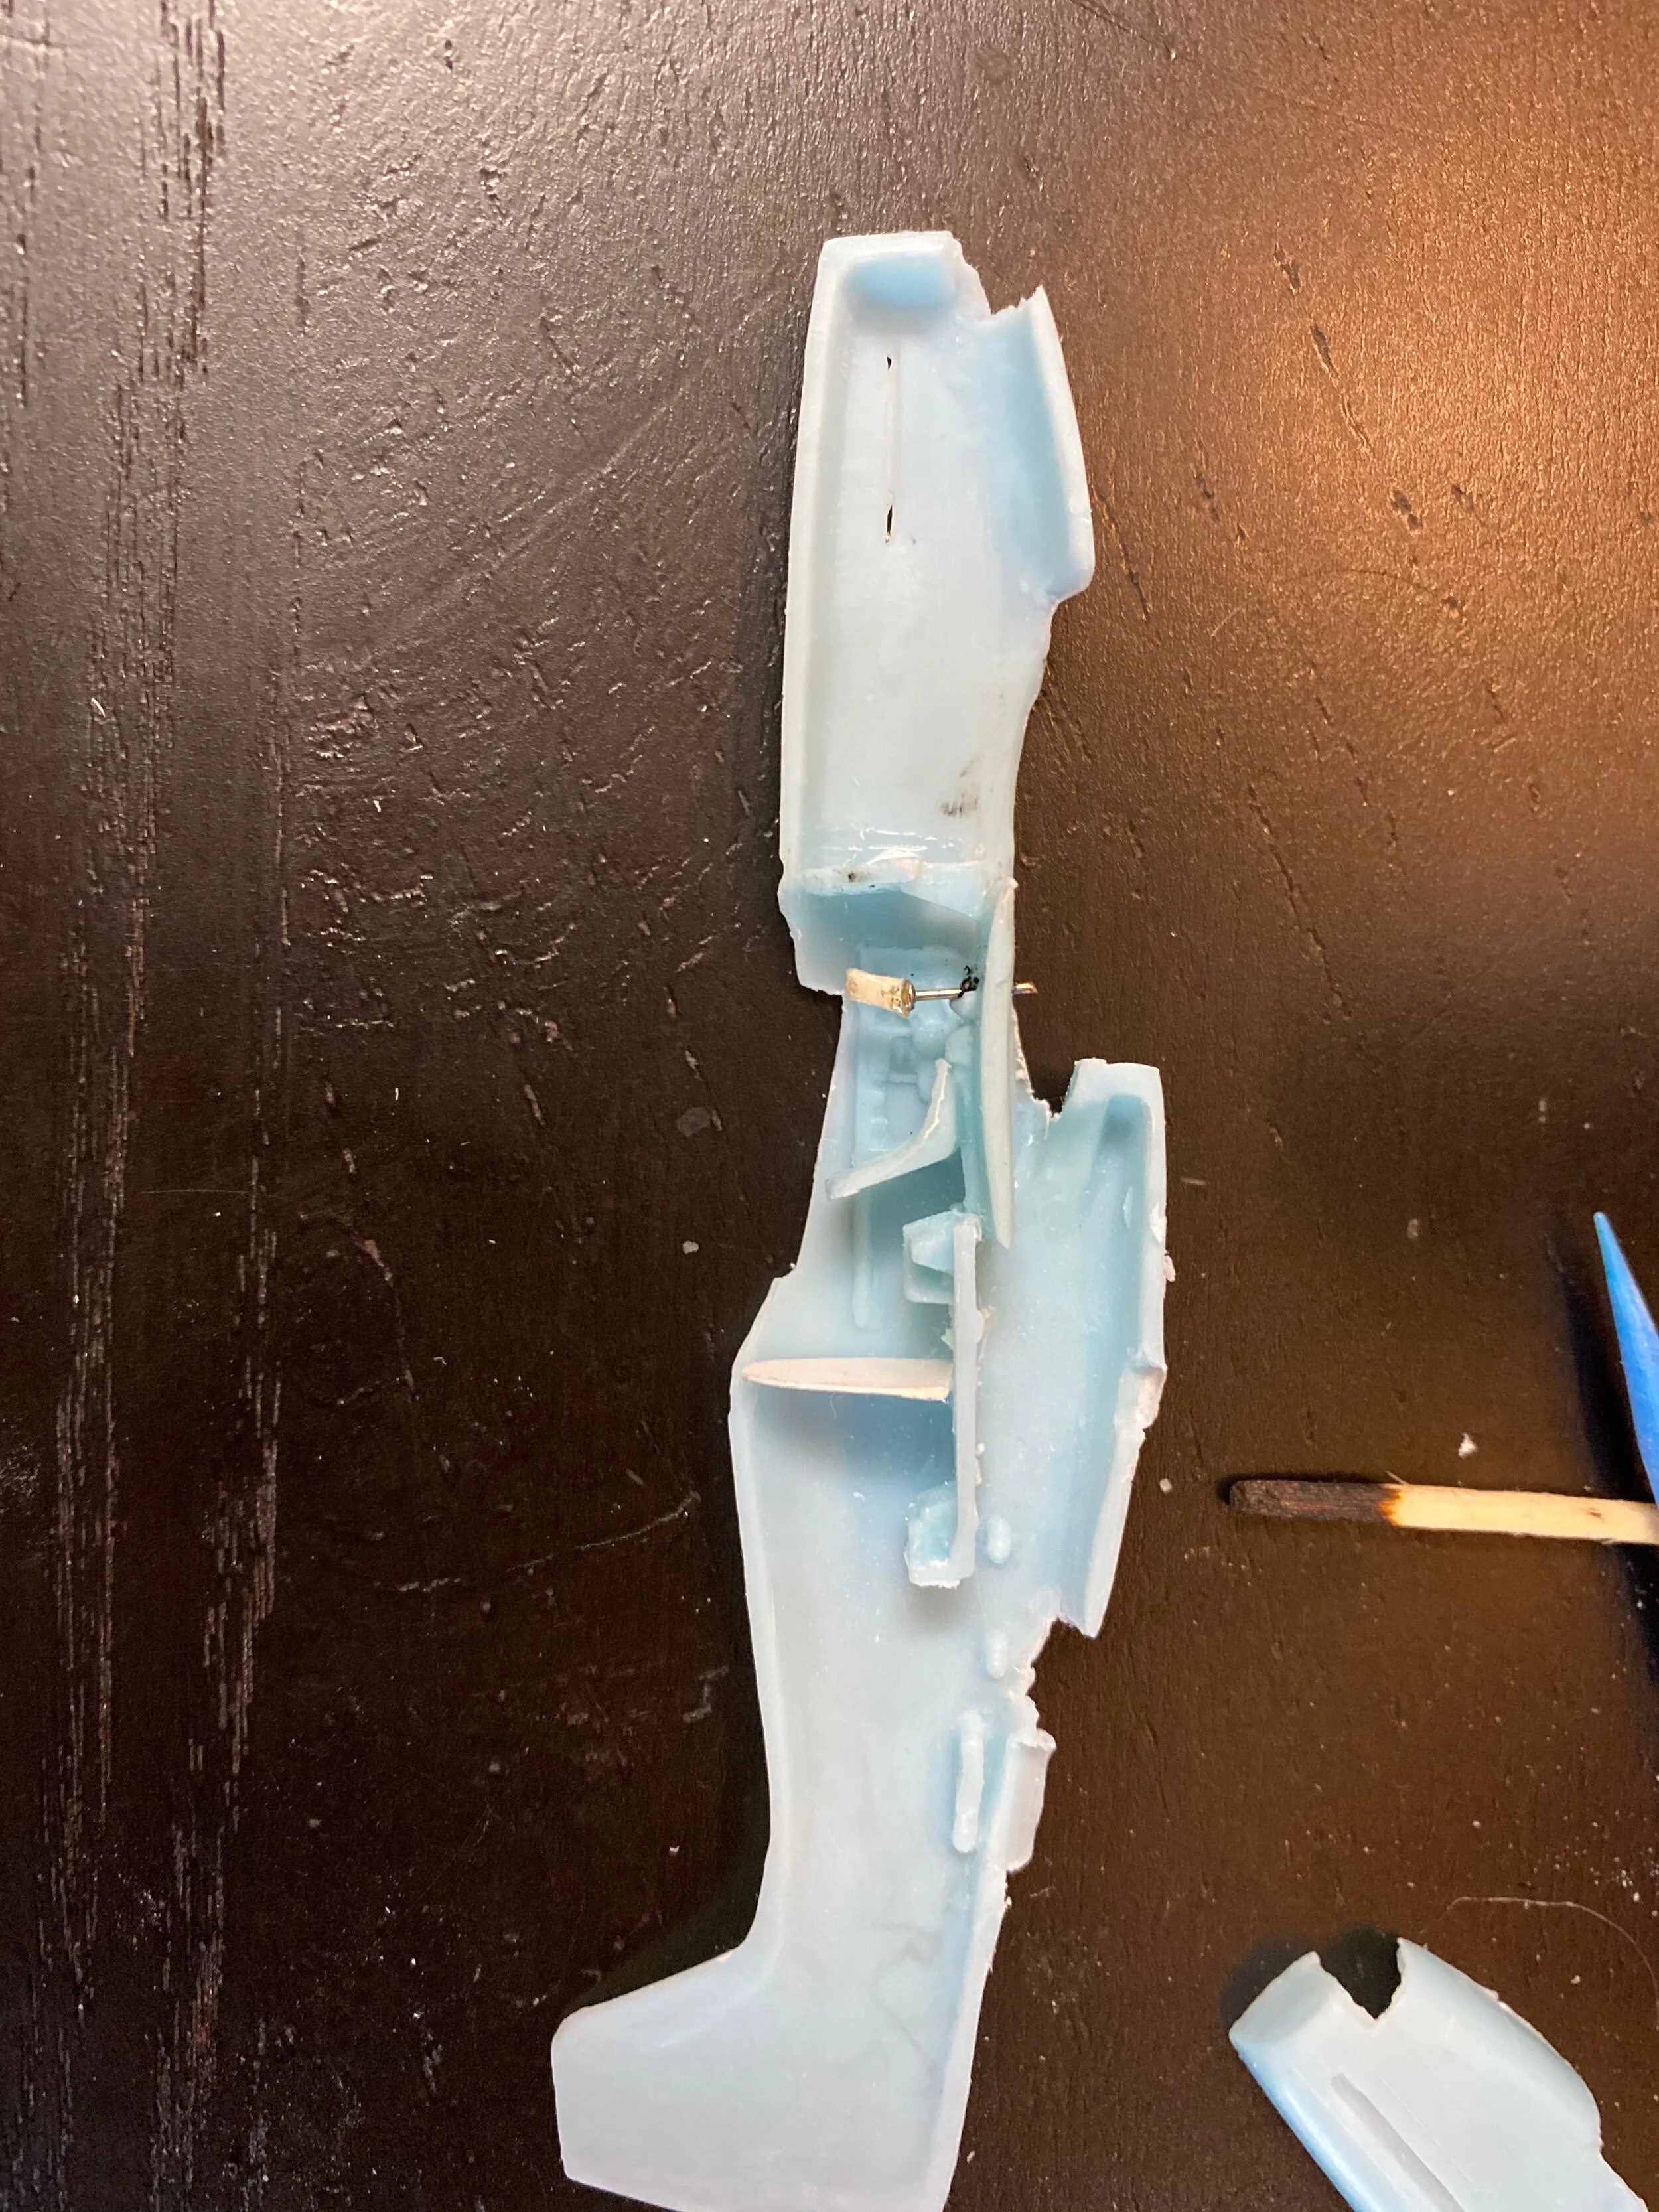
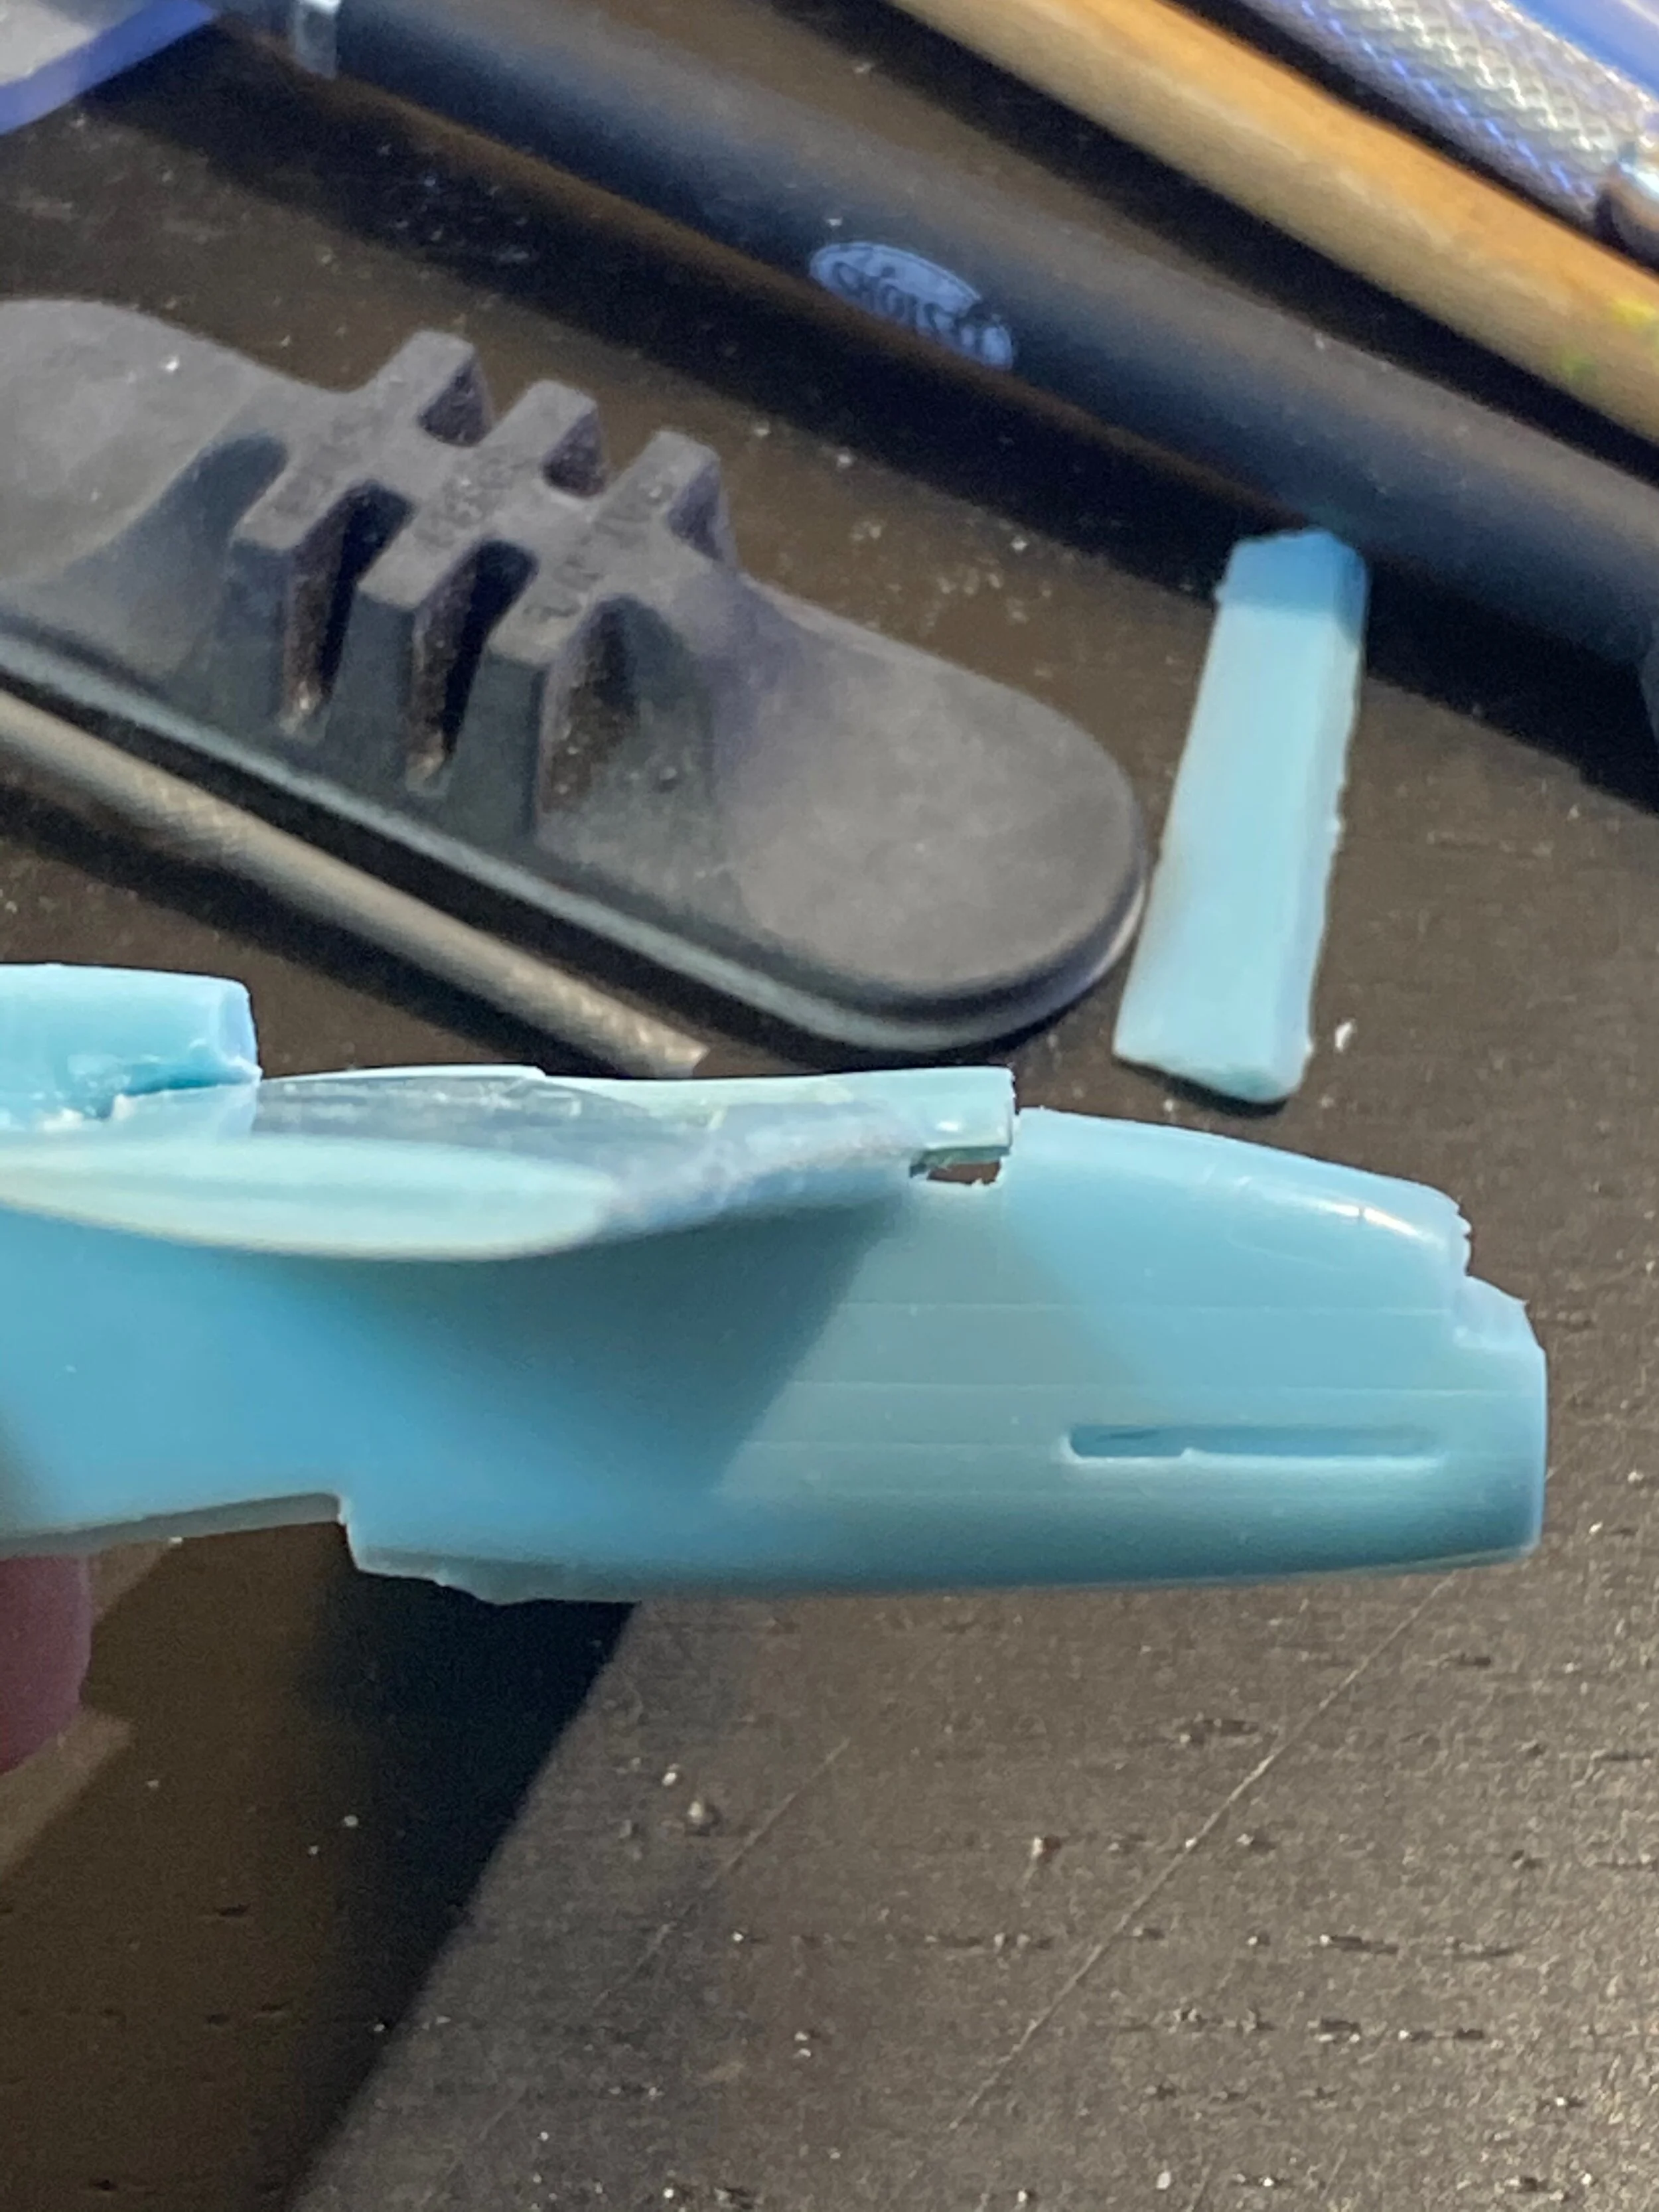
On this P-51D kit I’m not going to spend too much time on the interior to start so i can get the fuselage halves together and this lets me spend time on the areas that can be seen.
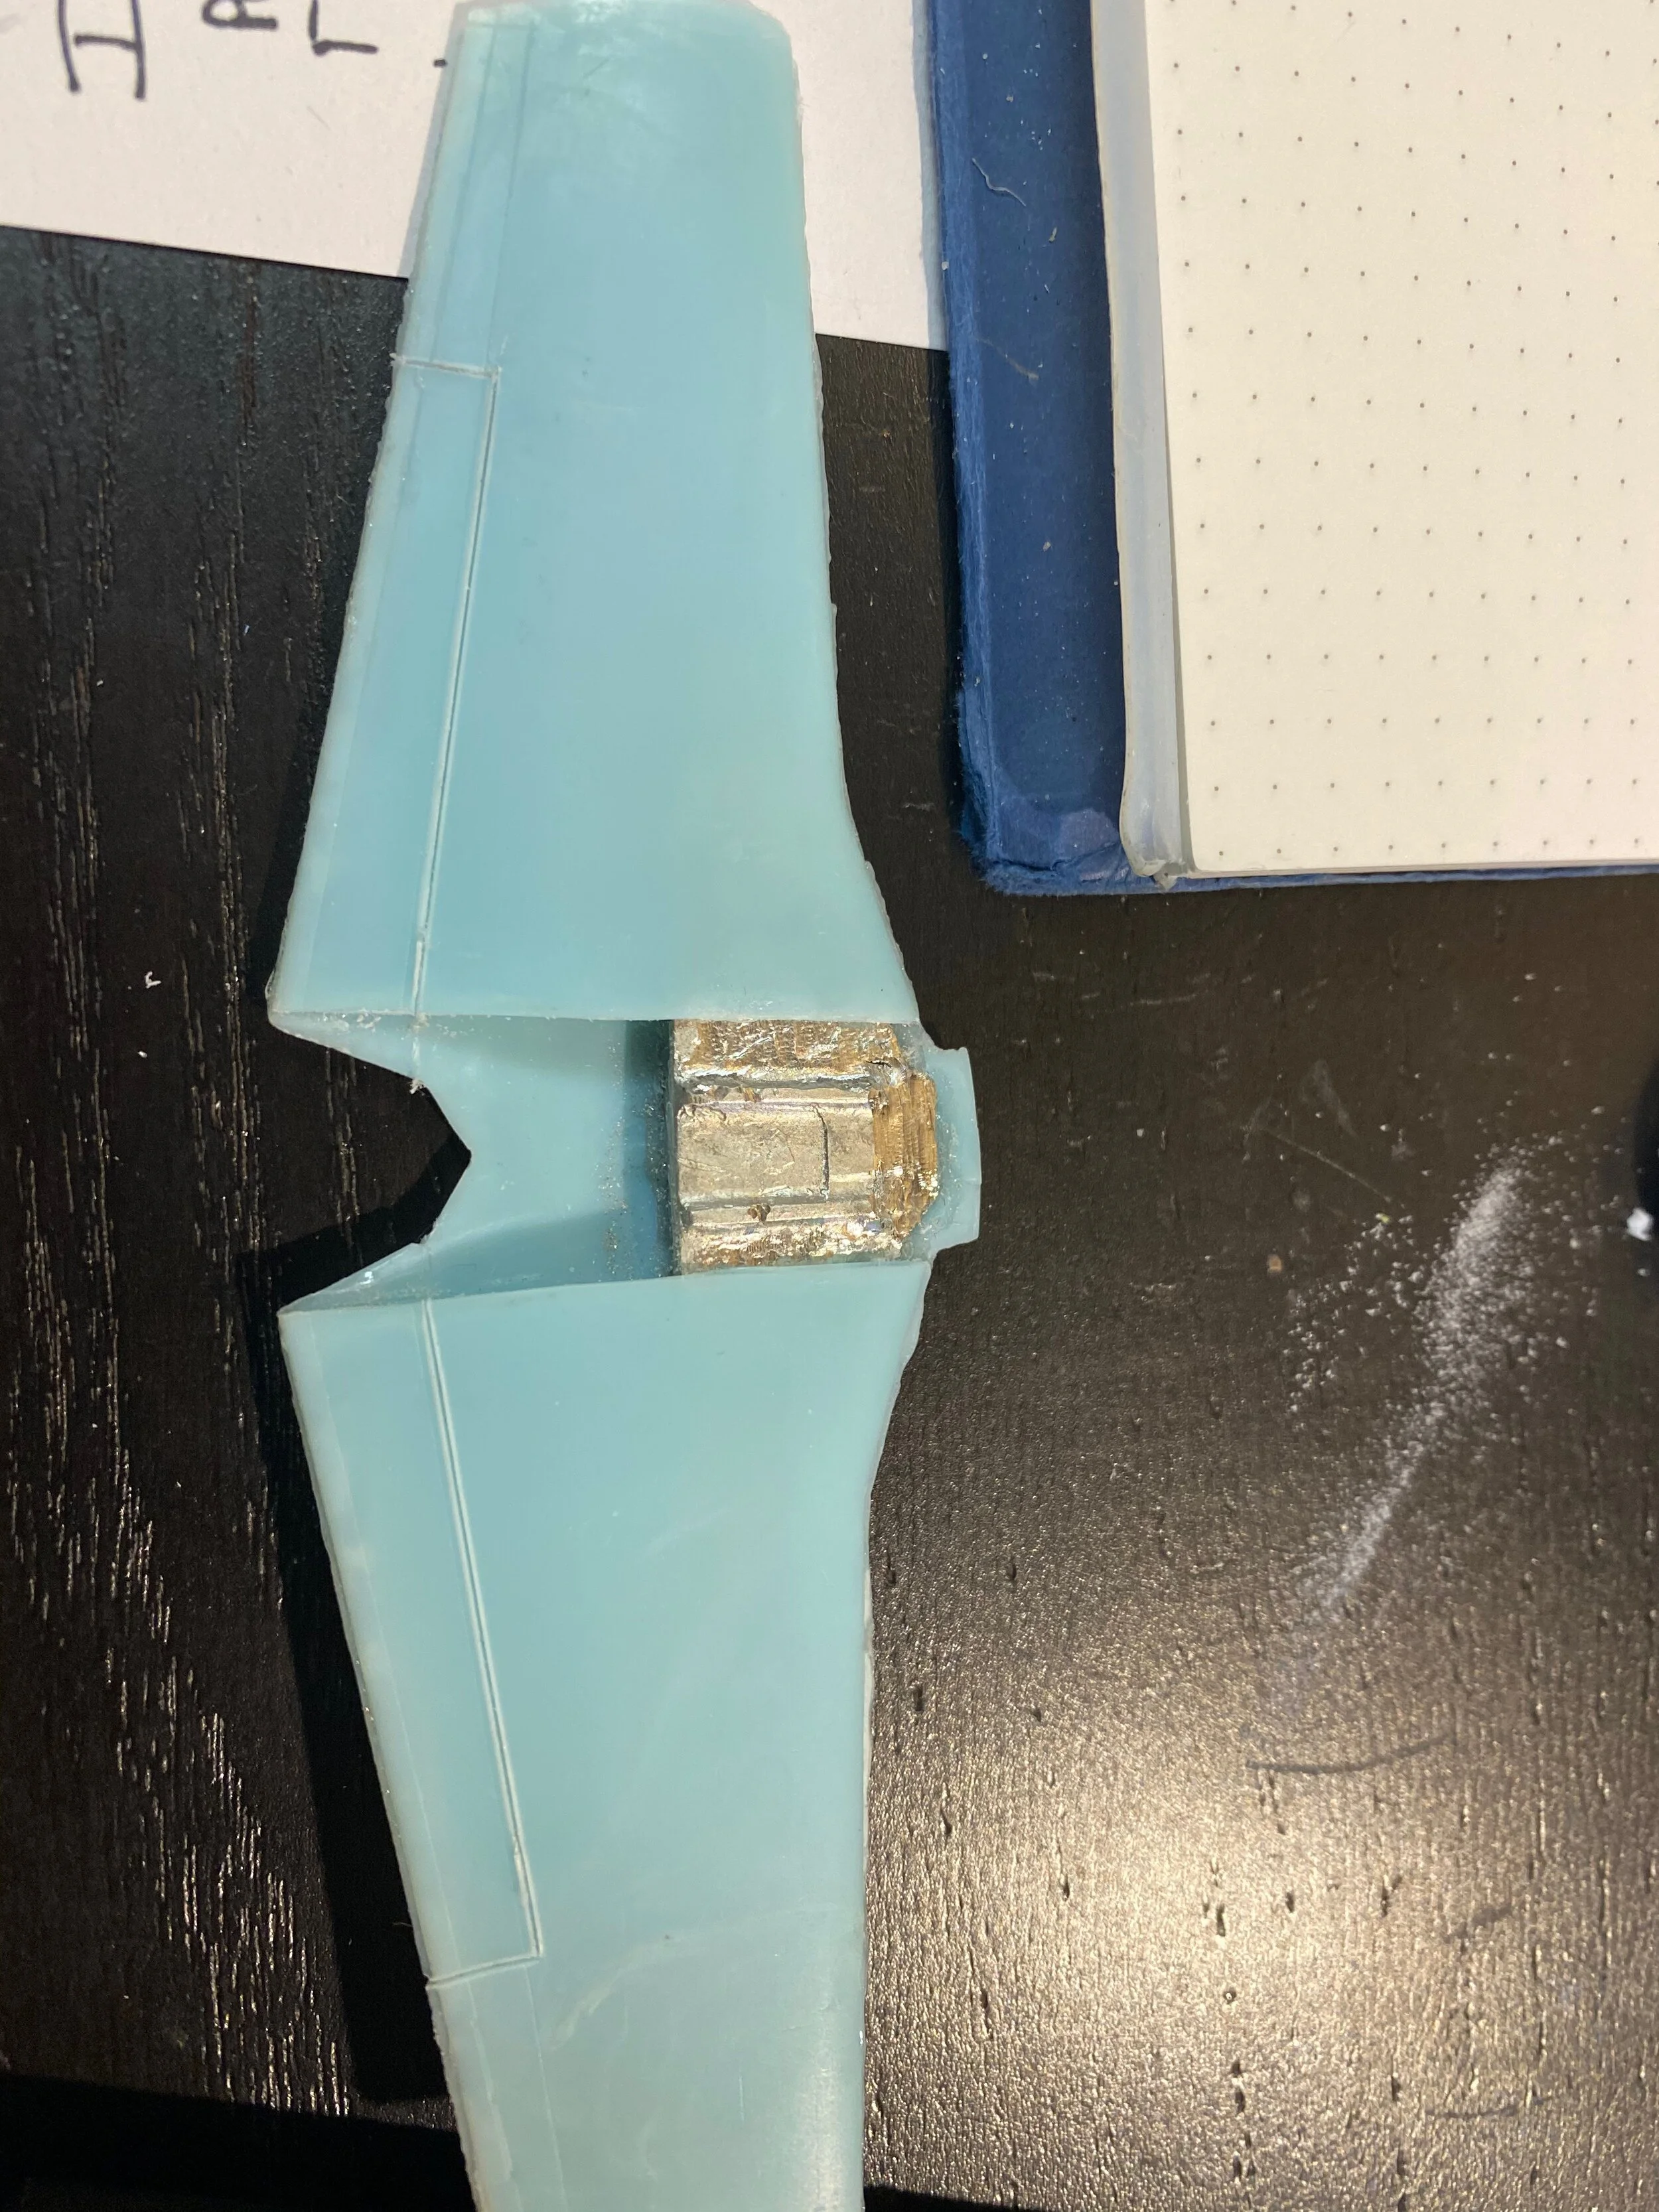
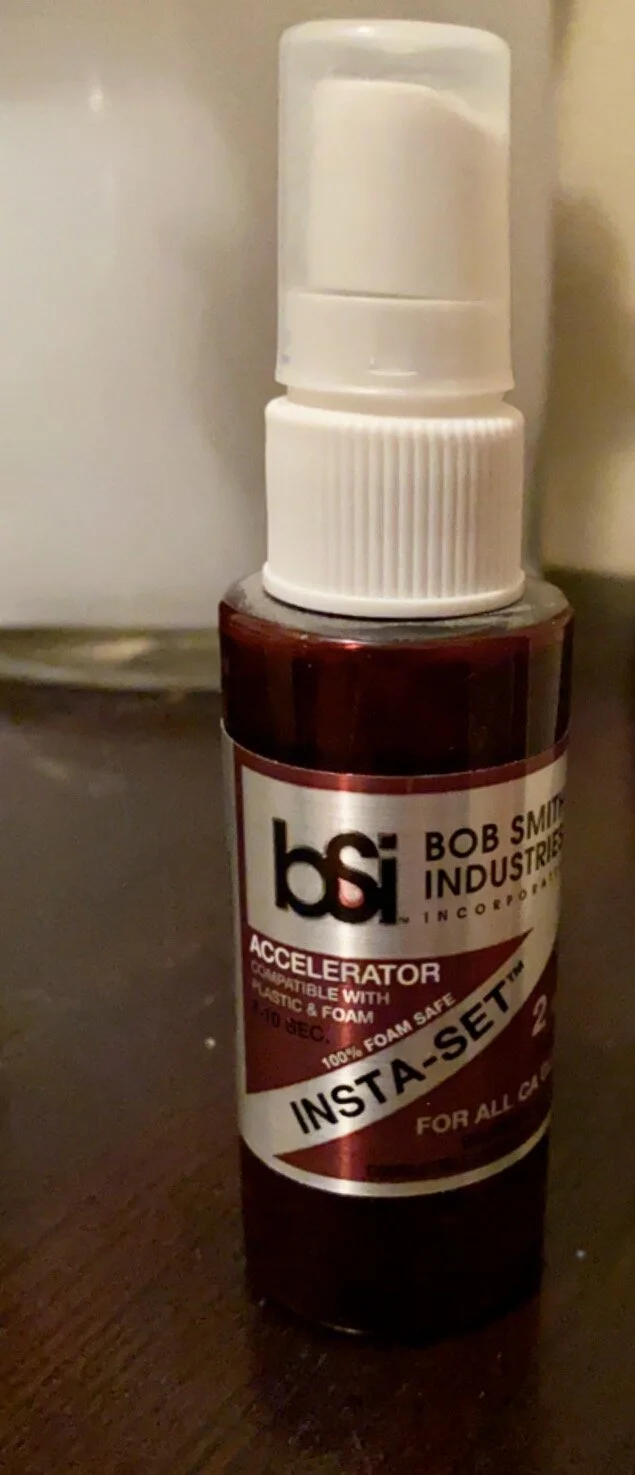
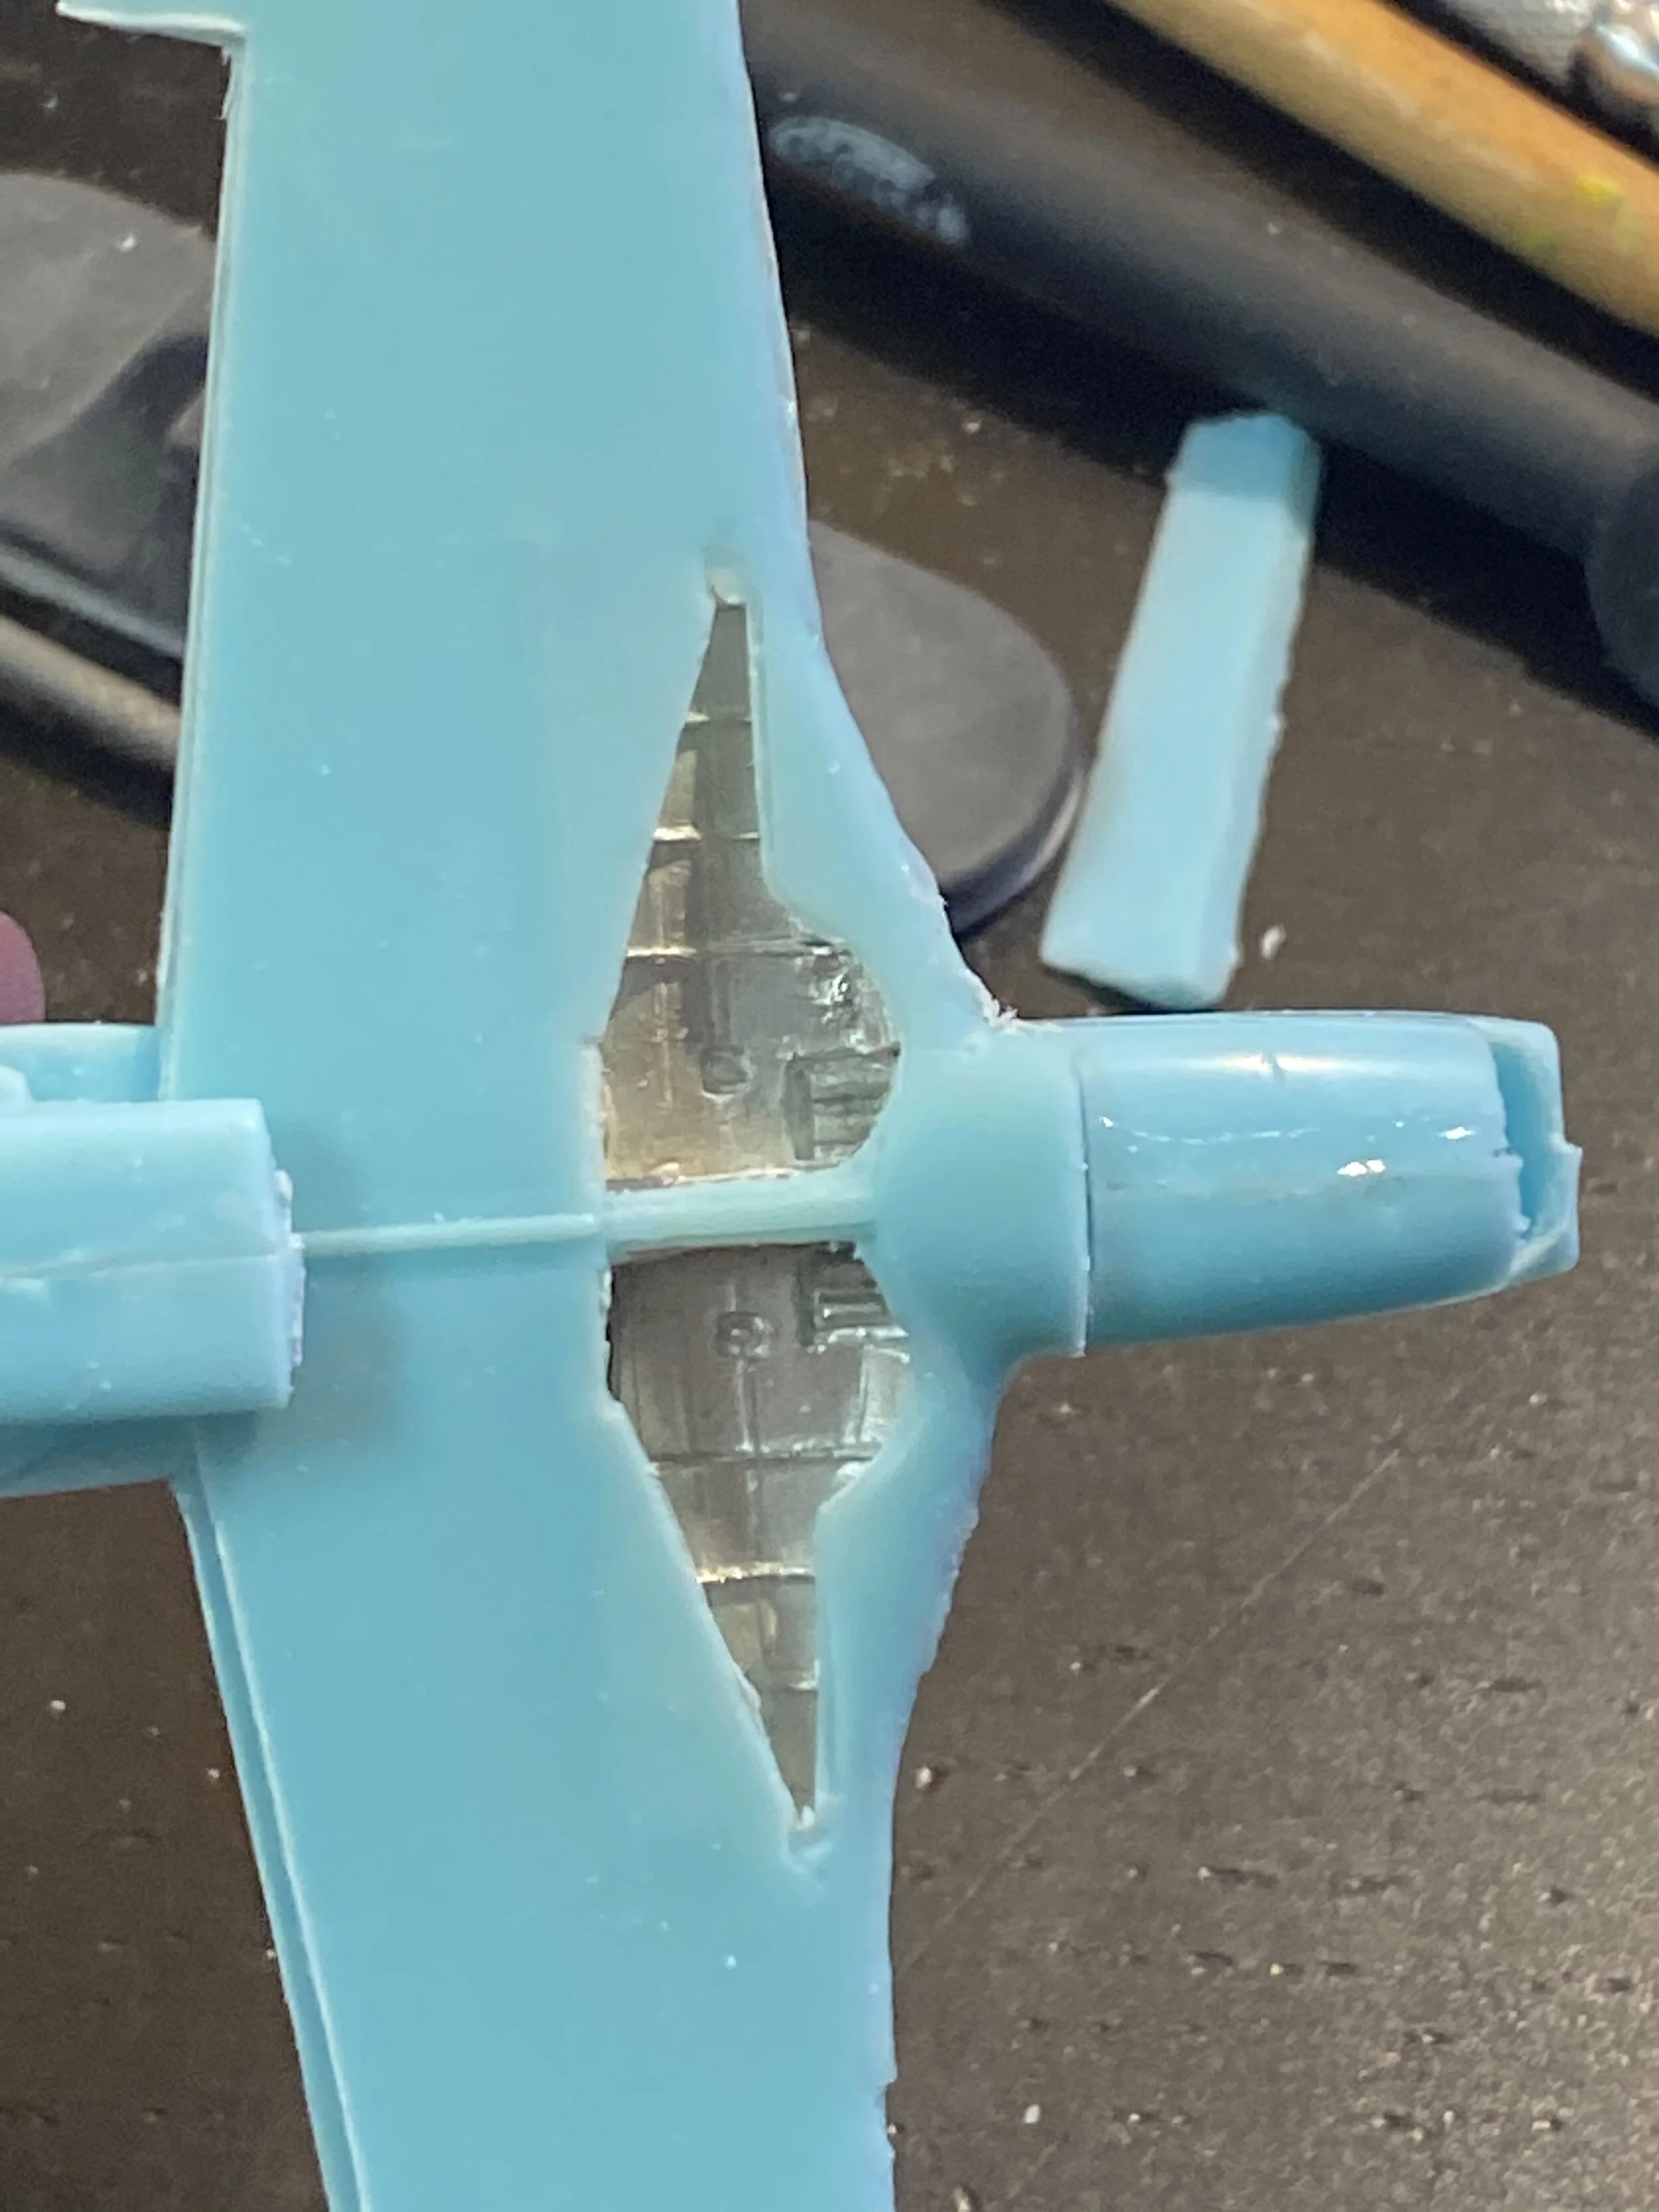
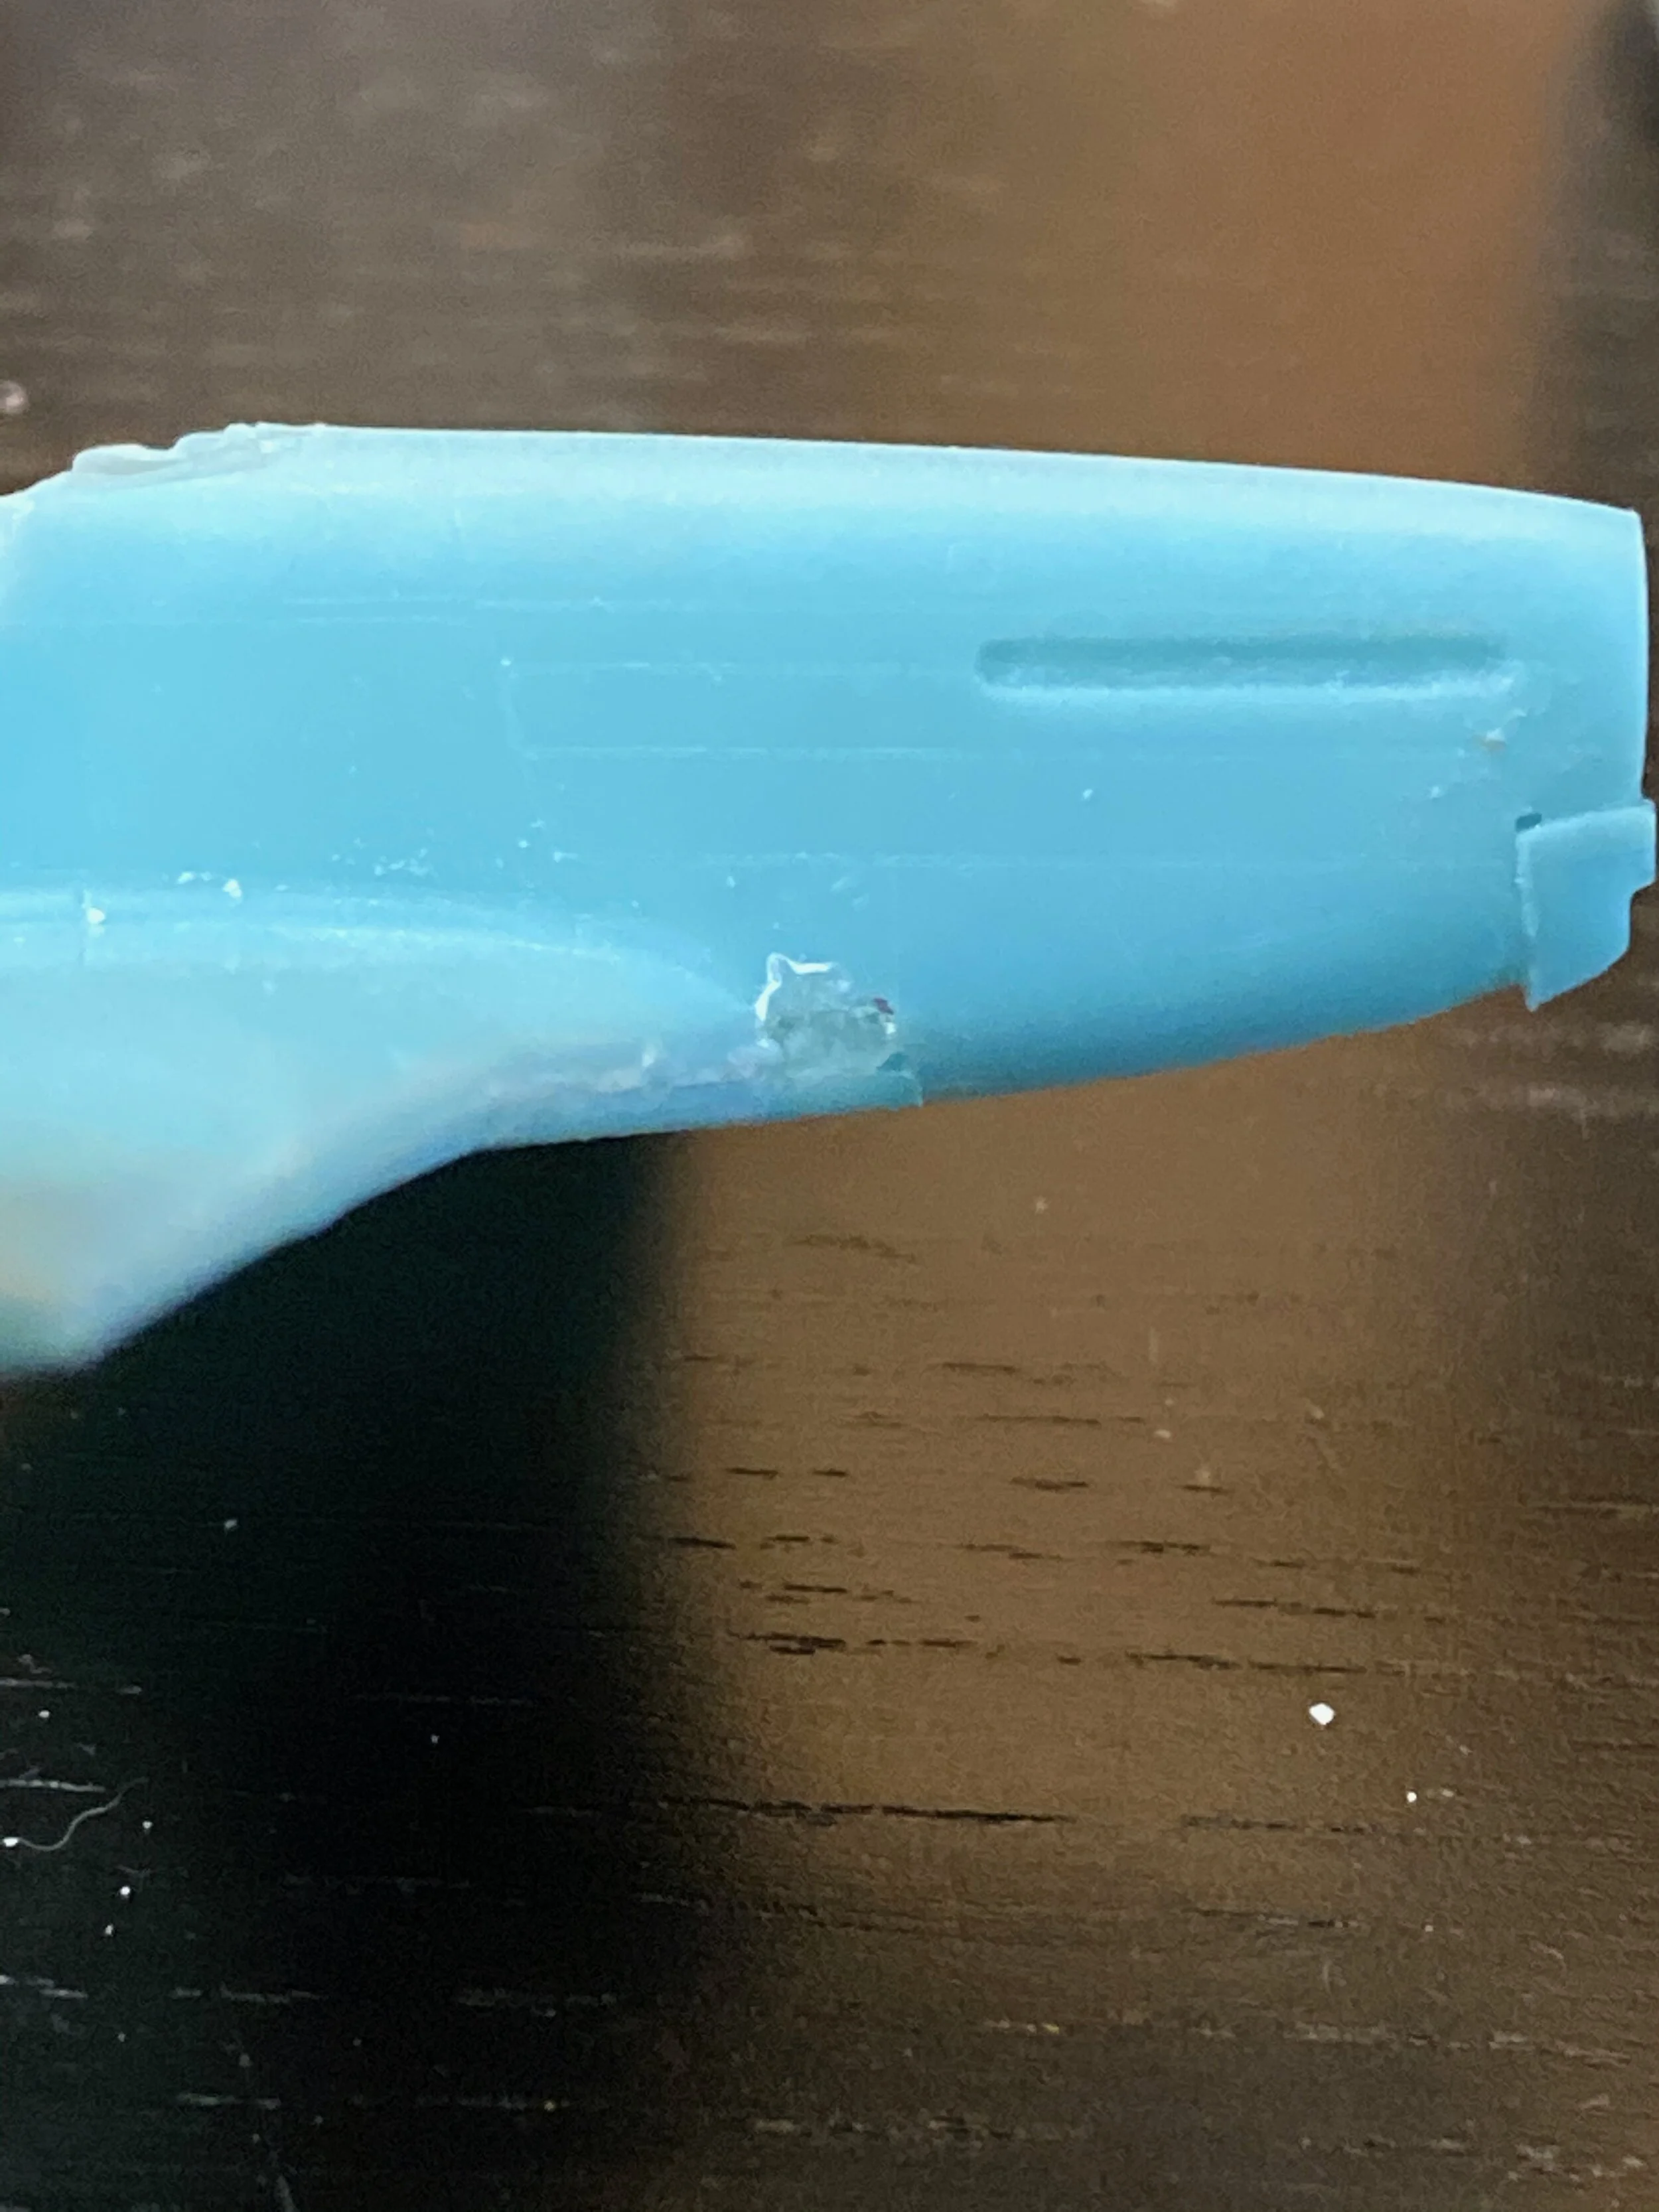
With the fuselage joined, this gives me time to focus on the wings and this kit comes with a metal cast gear well which adds nice detail to the kit. This is like the early version of Photo-etch and also adds nice weight to the kit. I used a super-glue accelerator spray which is useful for filling gaps. The technique I use is to use super-glue gel to fill in the gap and then spraying on the accelerator. This hardens the gel quickly and allows you to continue work quickly.
You can see the size of the gap in the wing joint (I could have trimmed the metal insert more but it actually worked out well as the wing thickness aligned well at the top of the wing and the fuselage.
Next post for the Roto-Finish build I’ll highlight some additional tools used to help with this great P-51D airplane.

