P-51D "Roto-Finish" Build Log-Control Surfaces Extraction
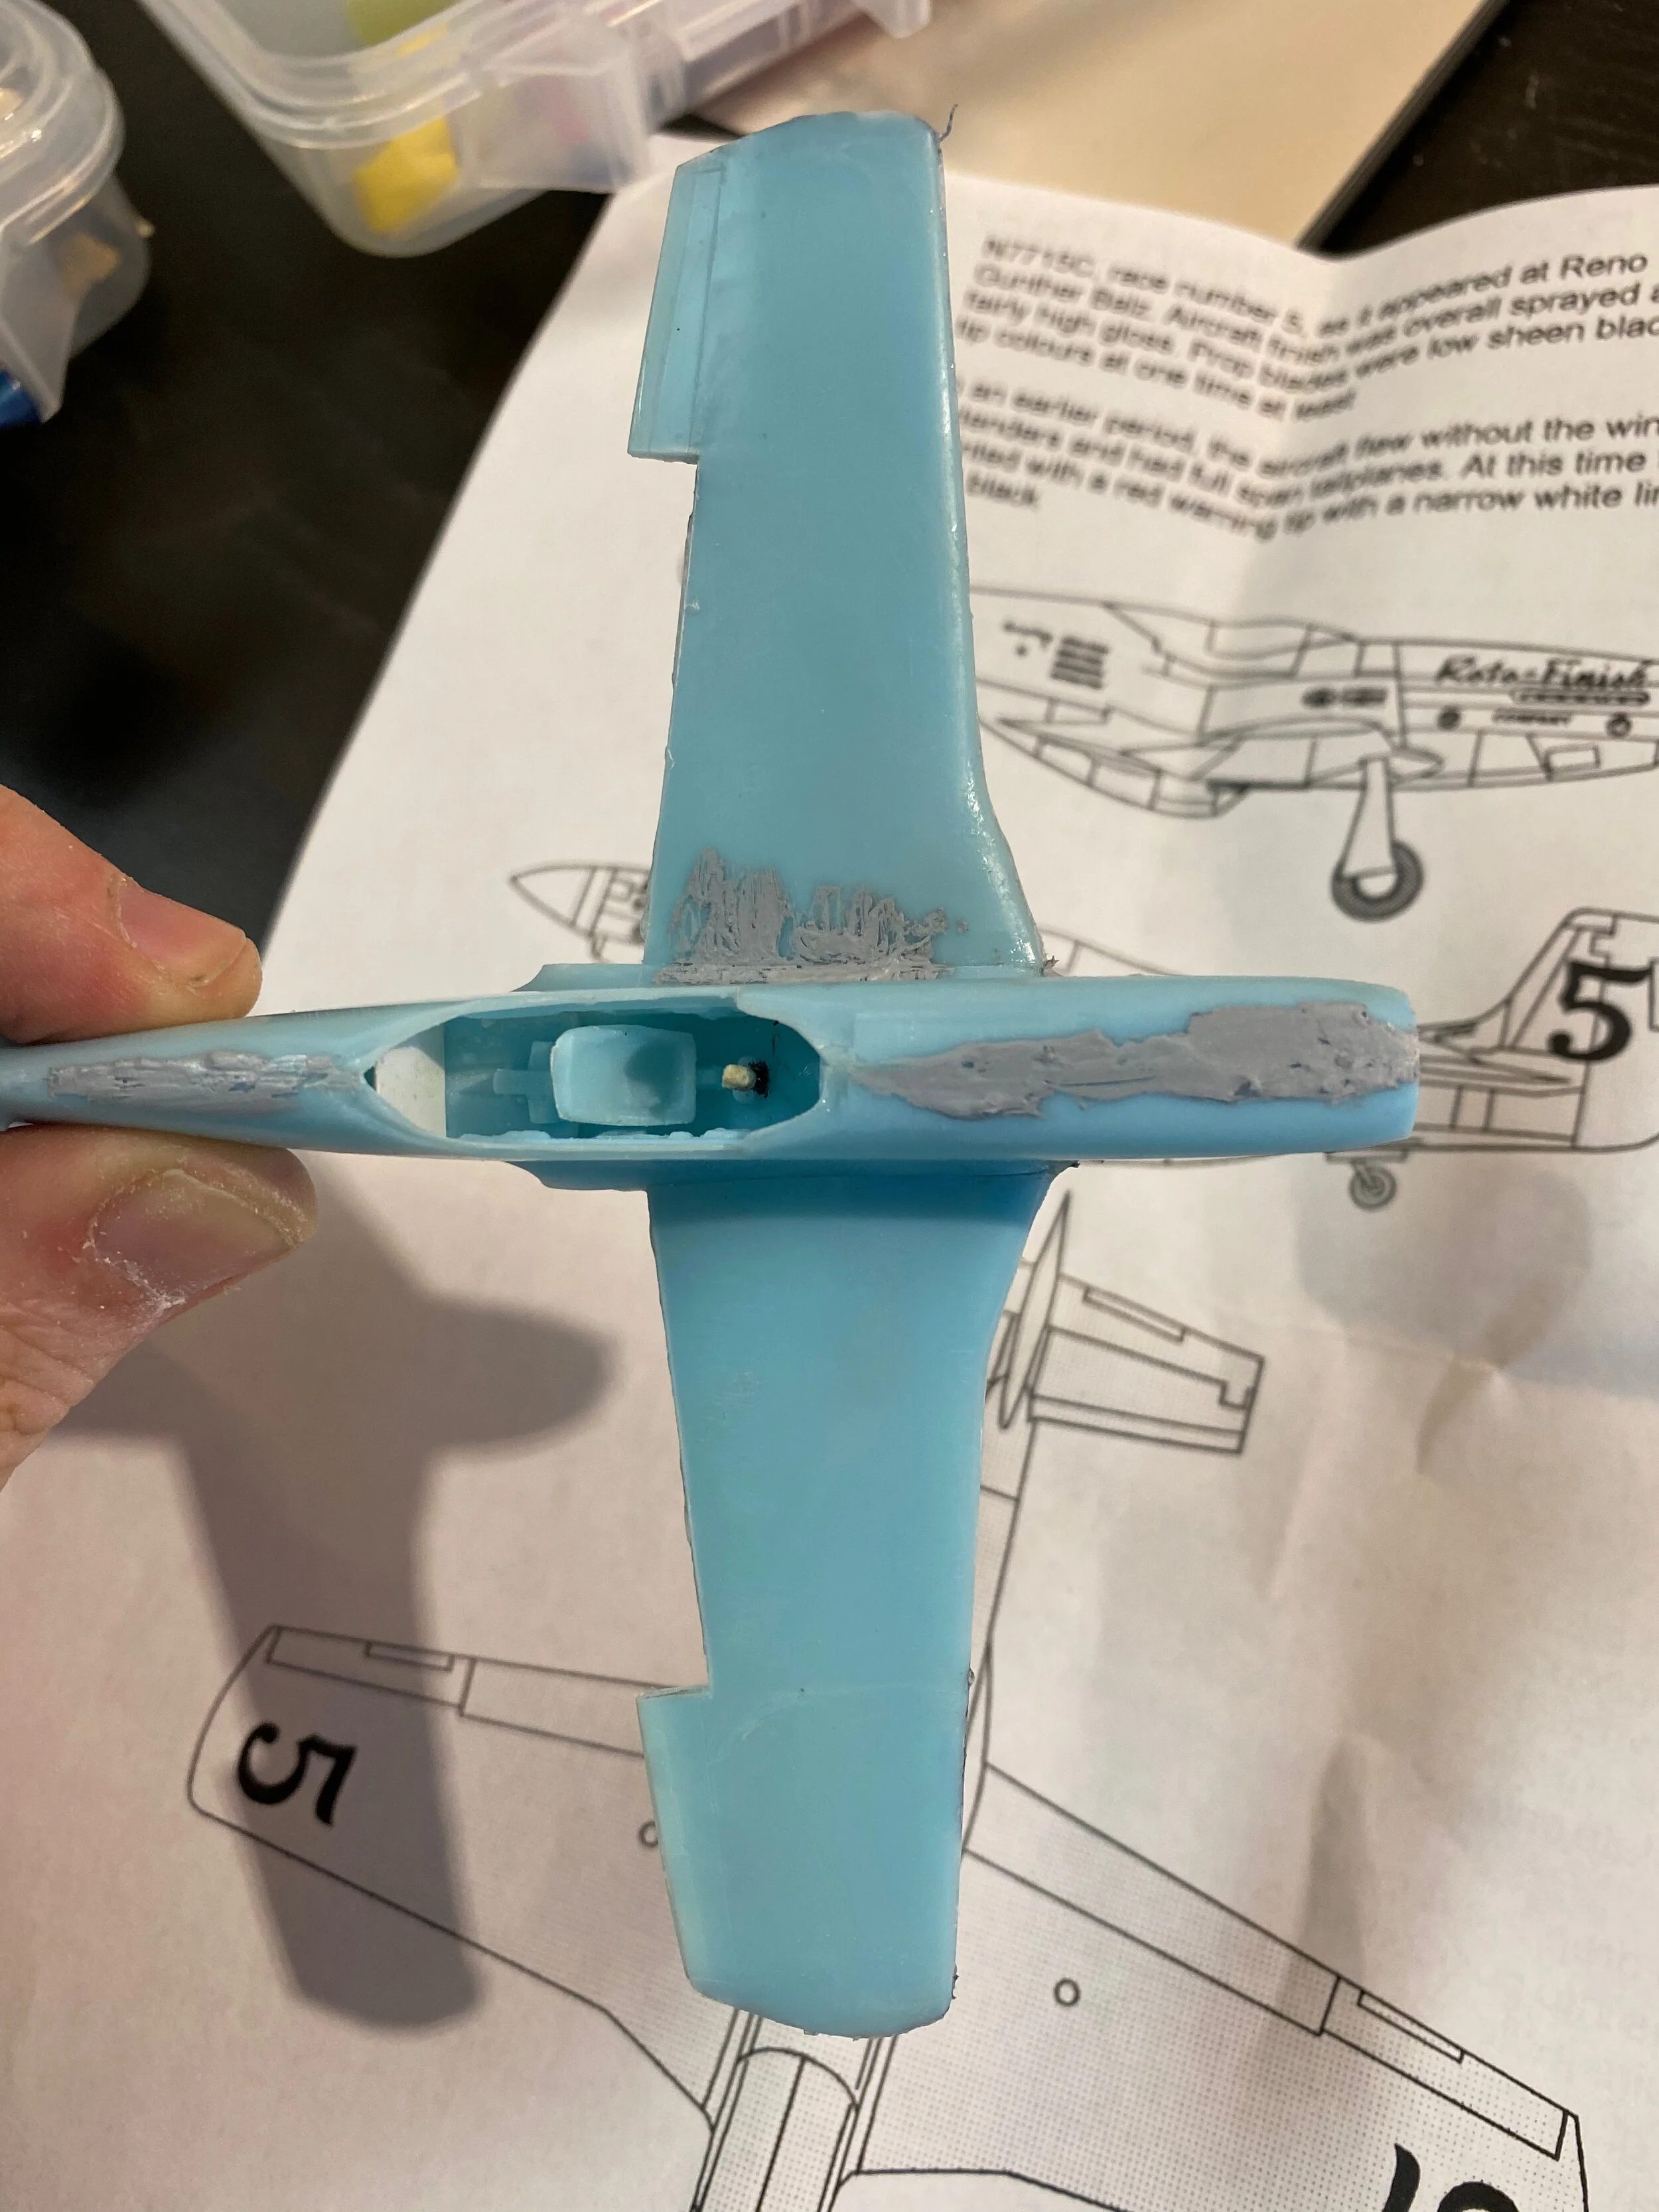
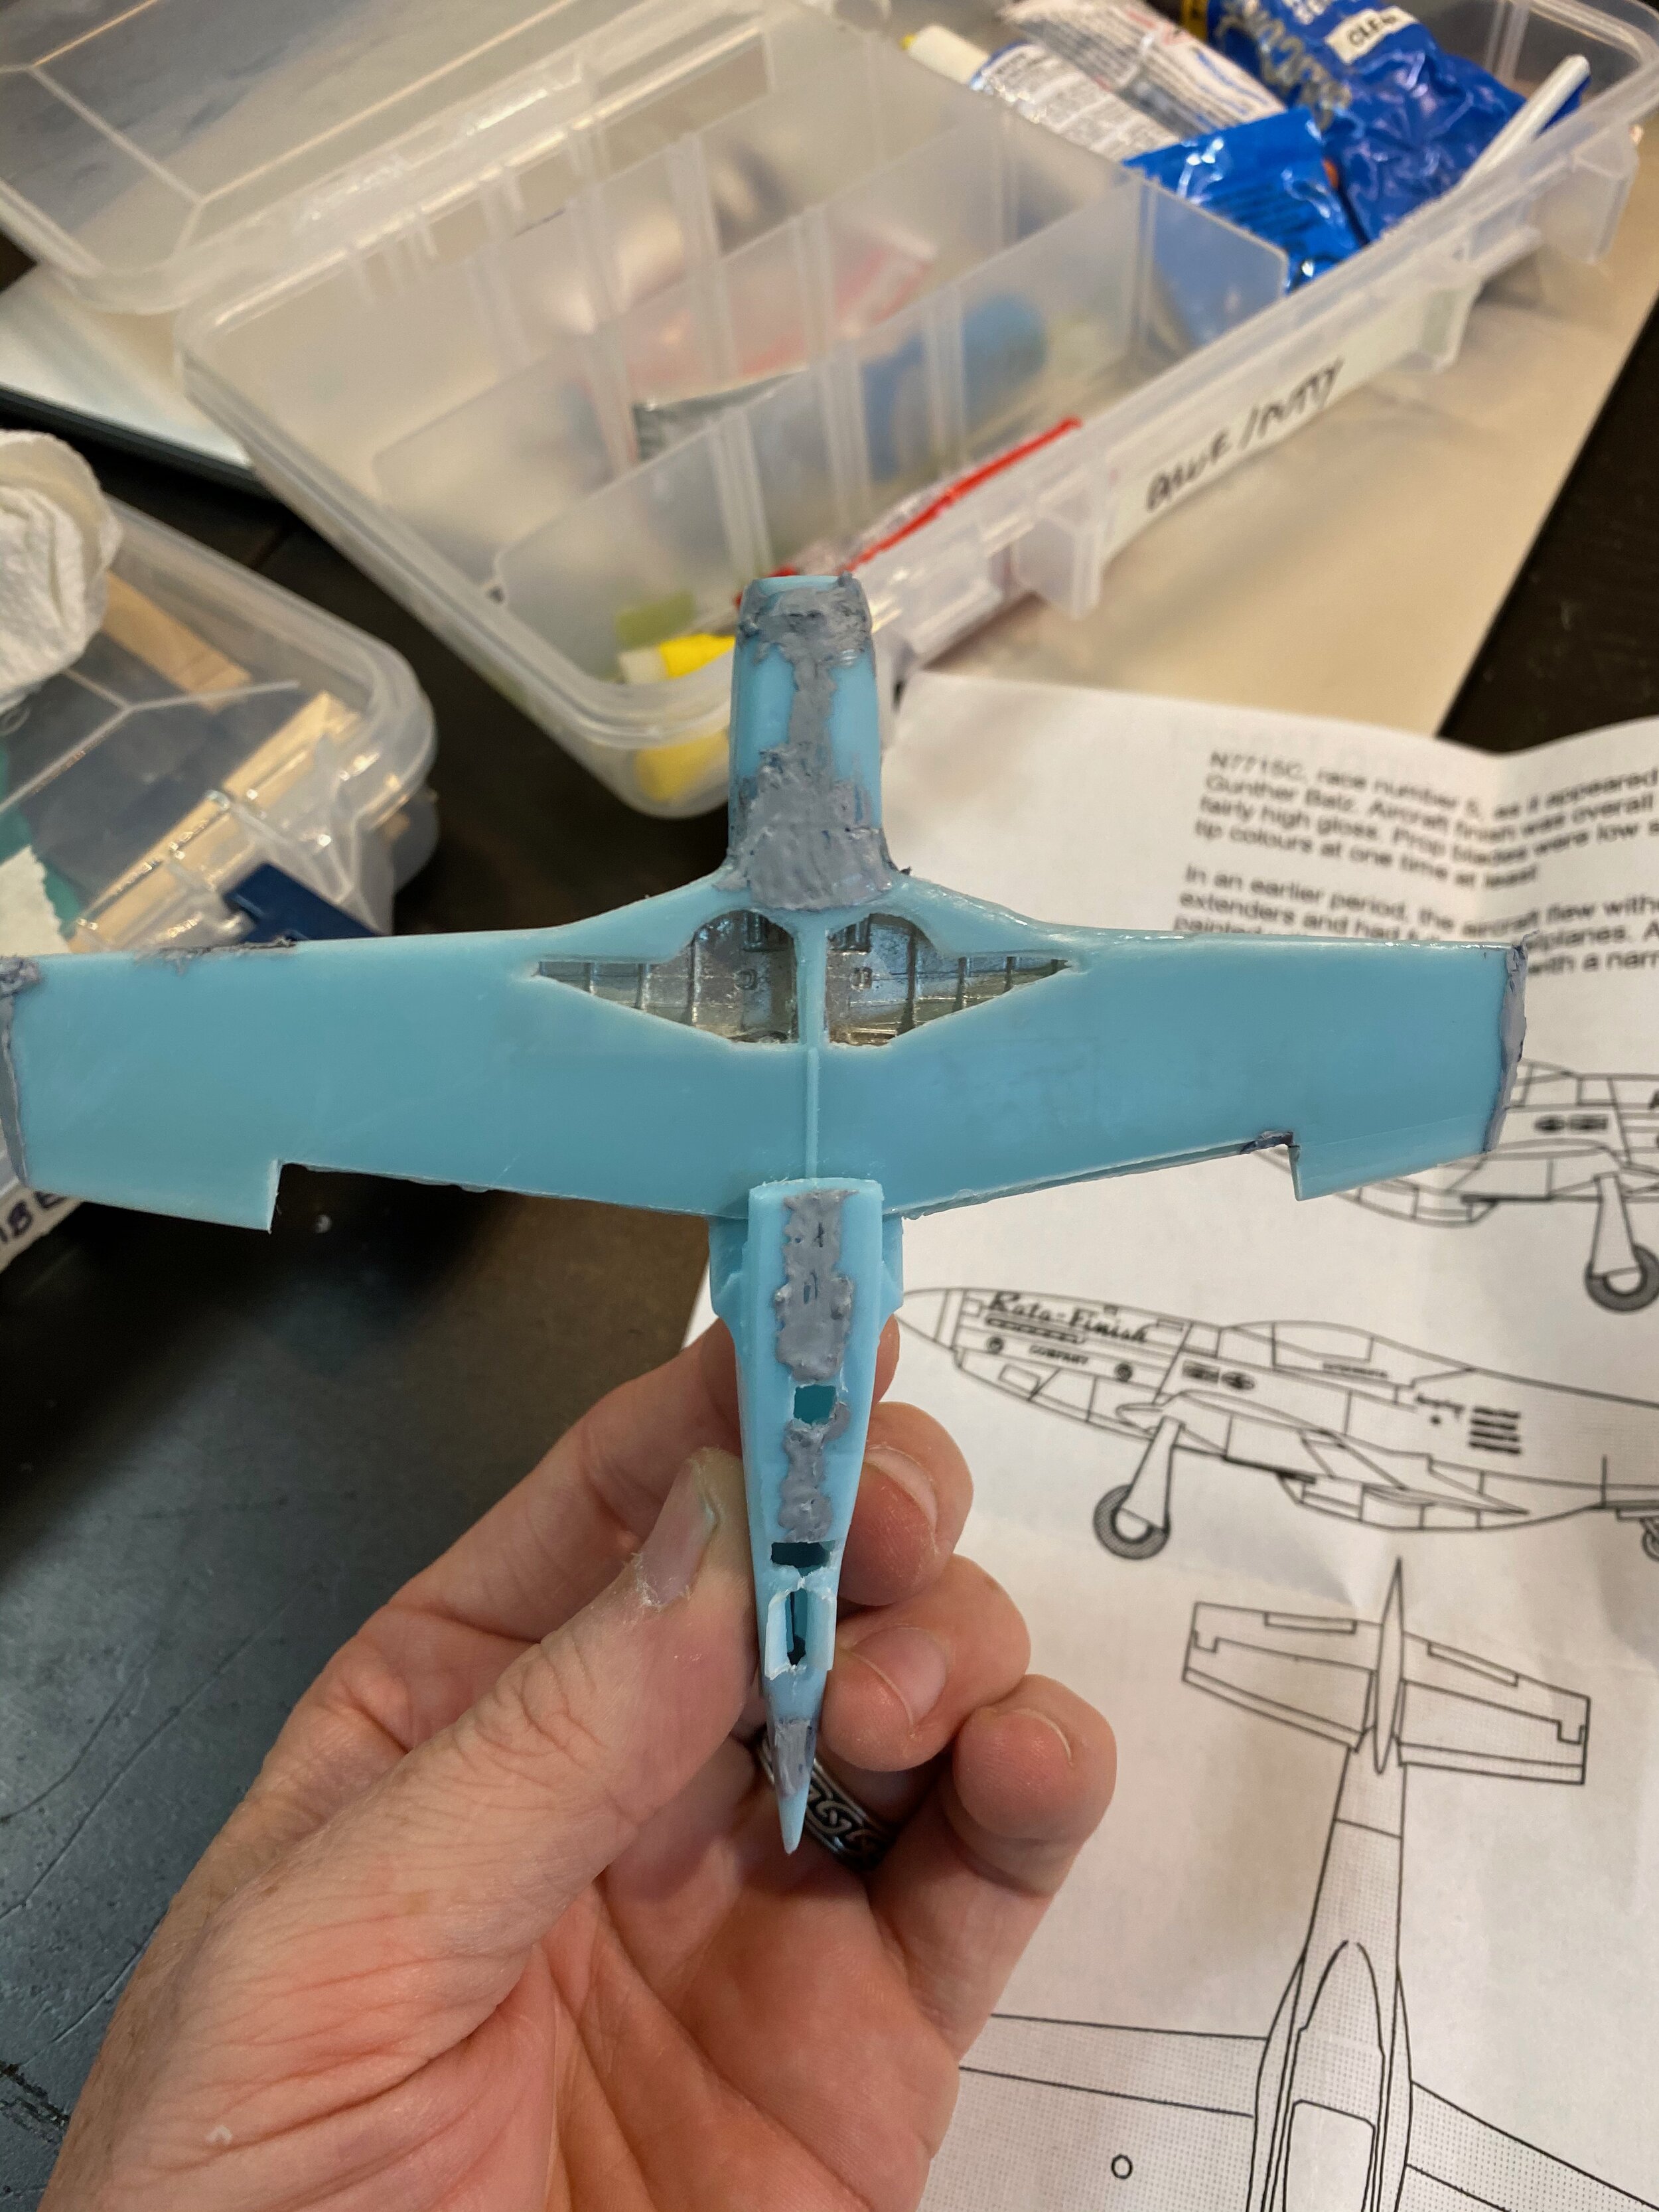
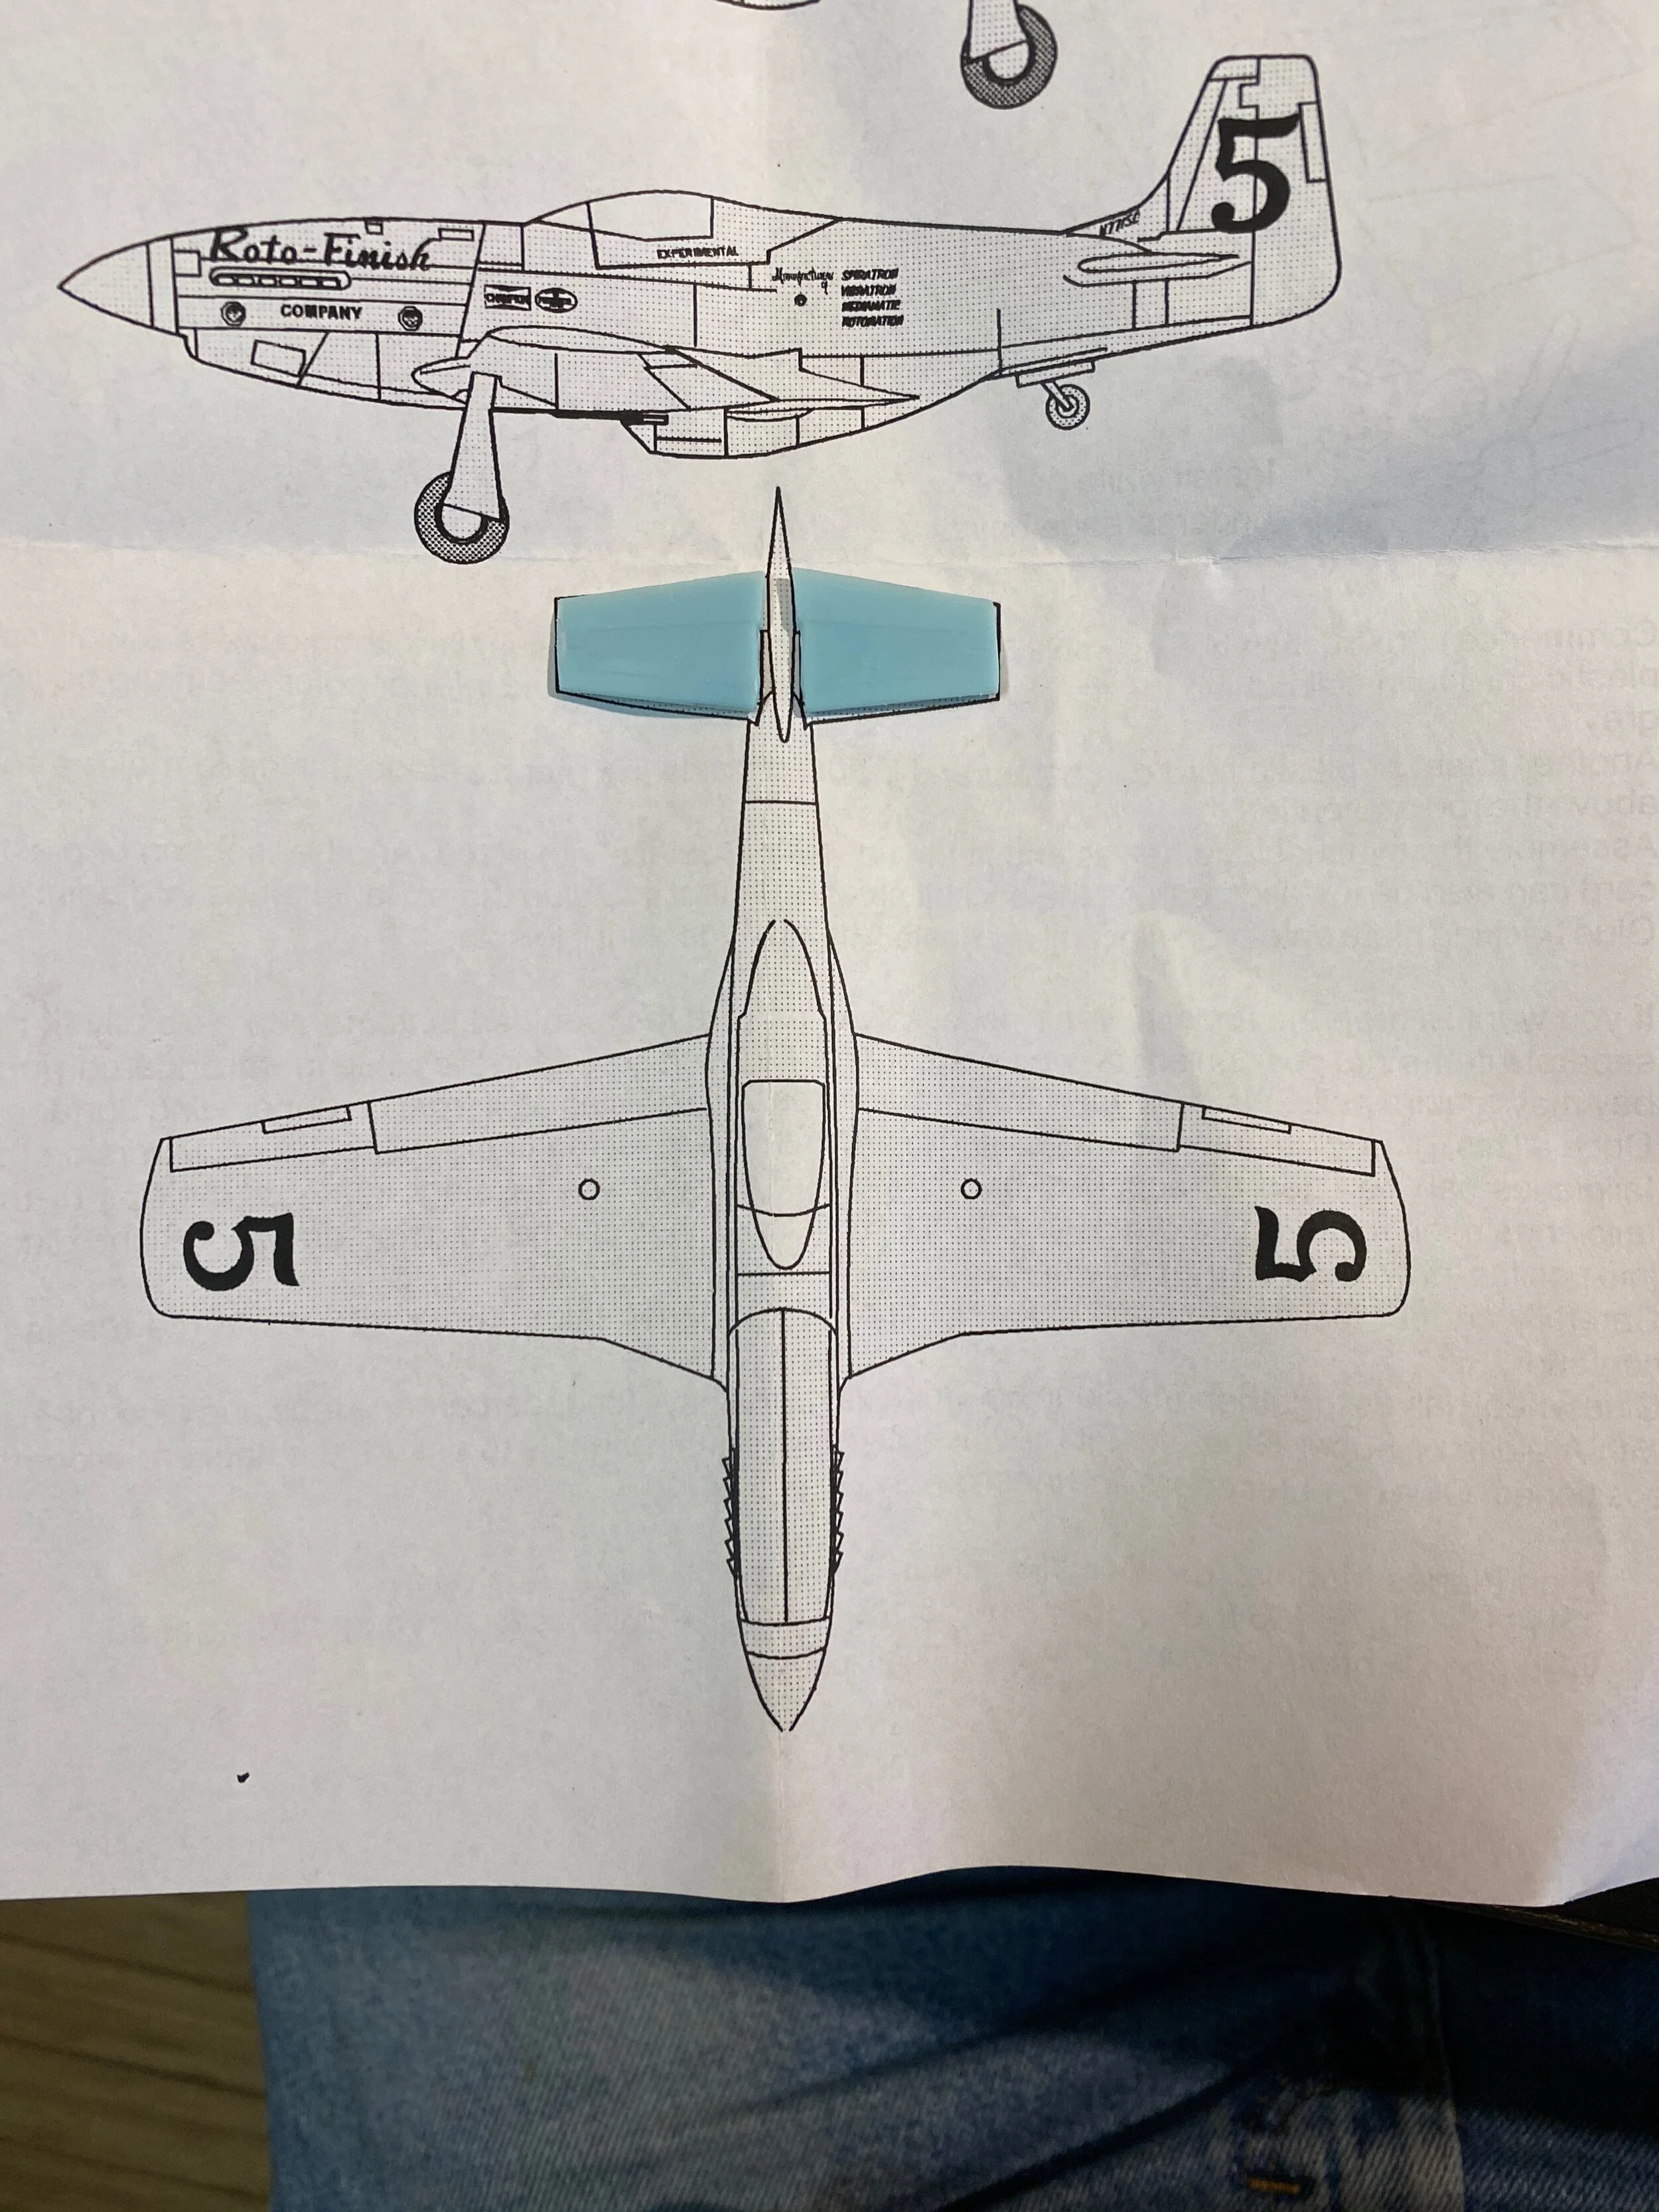
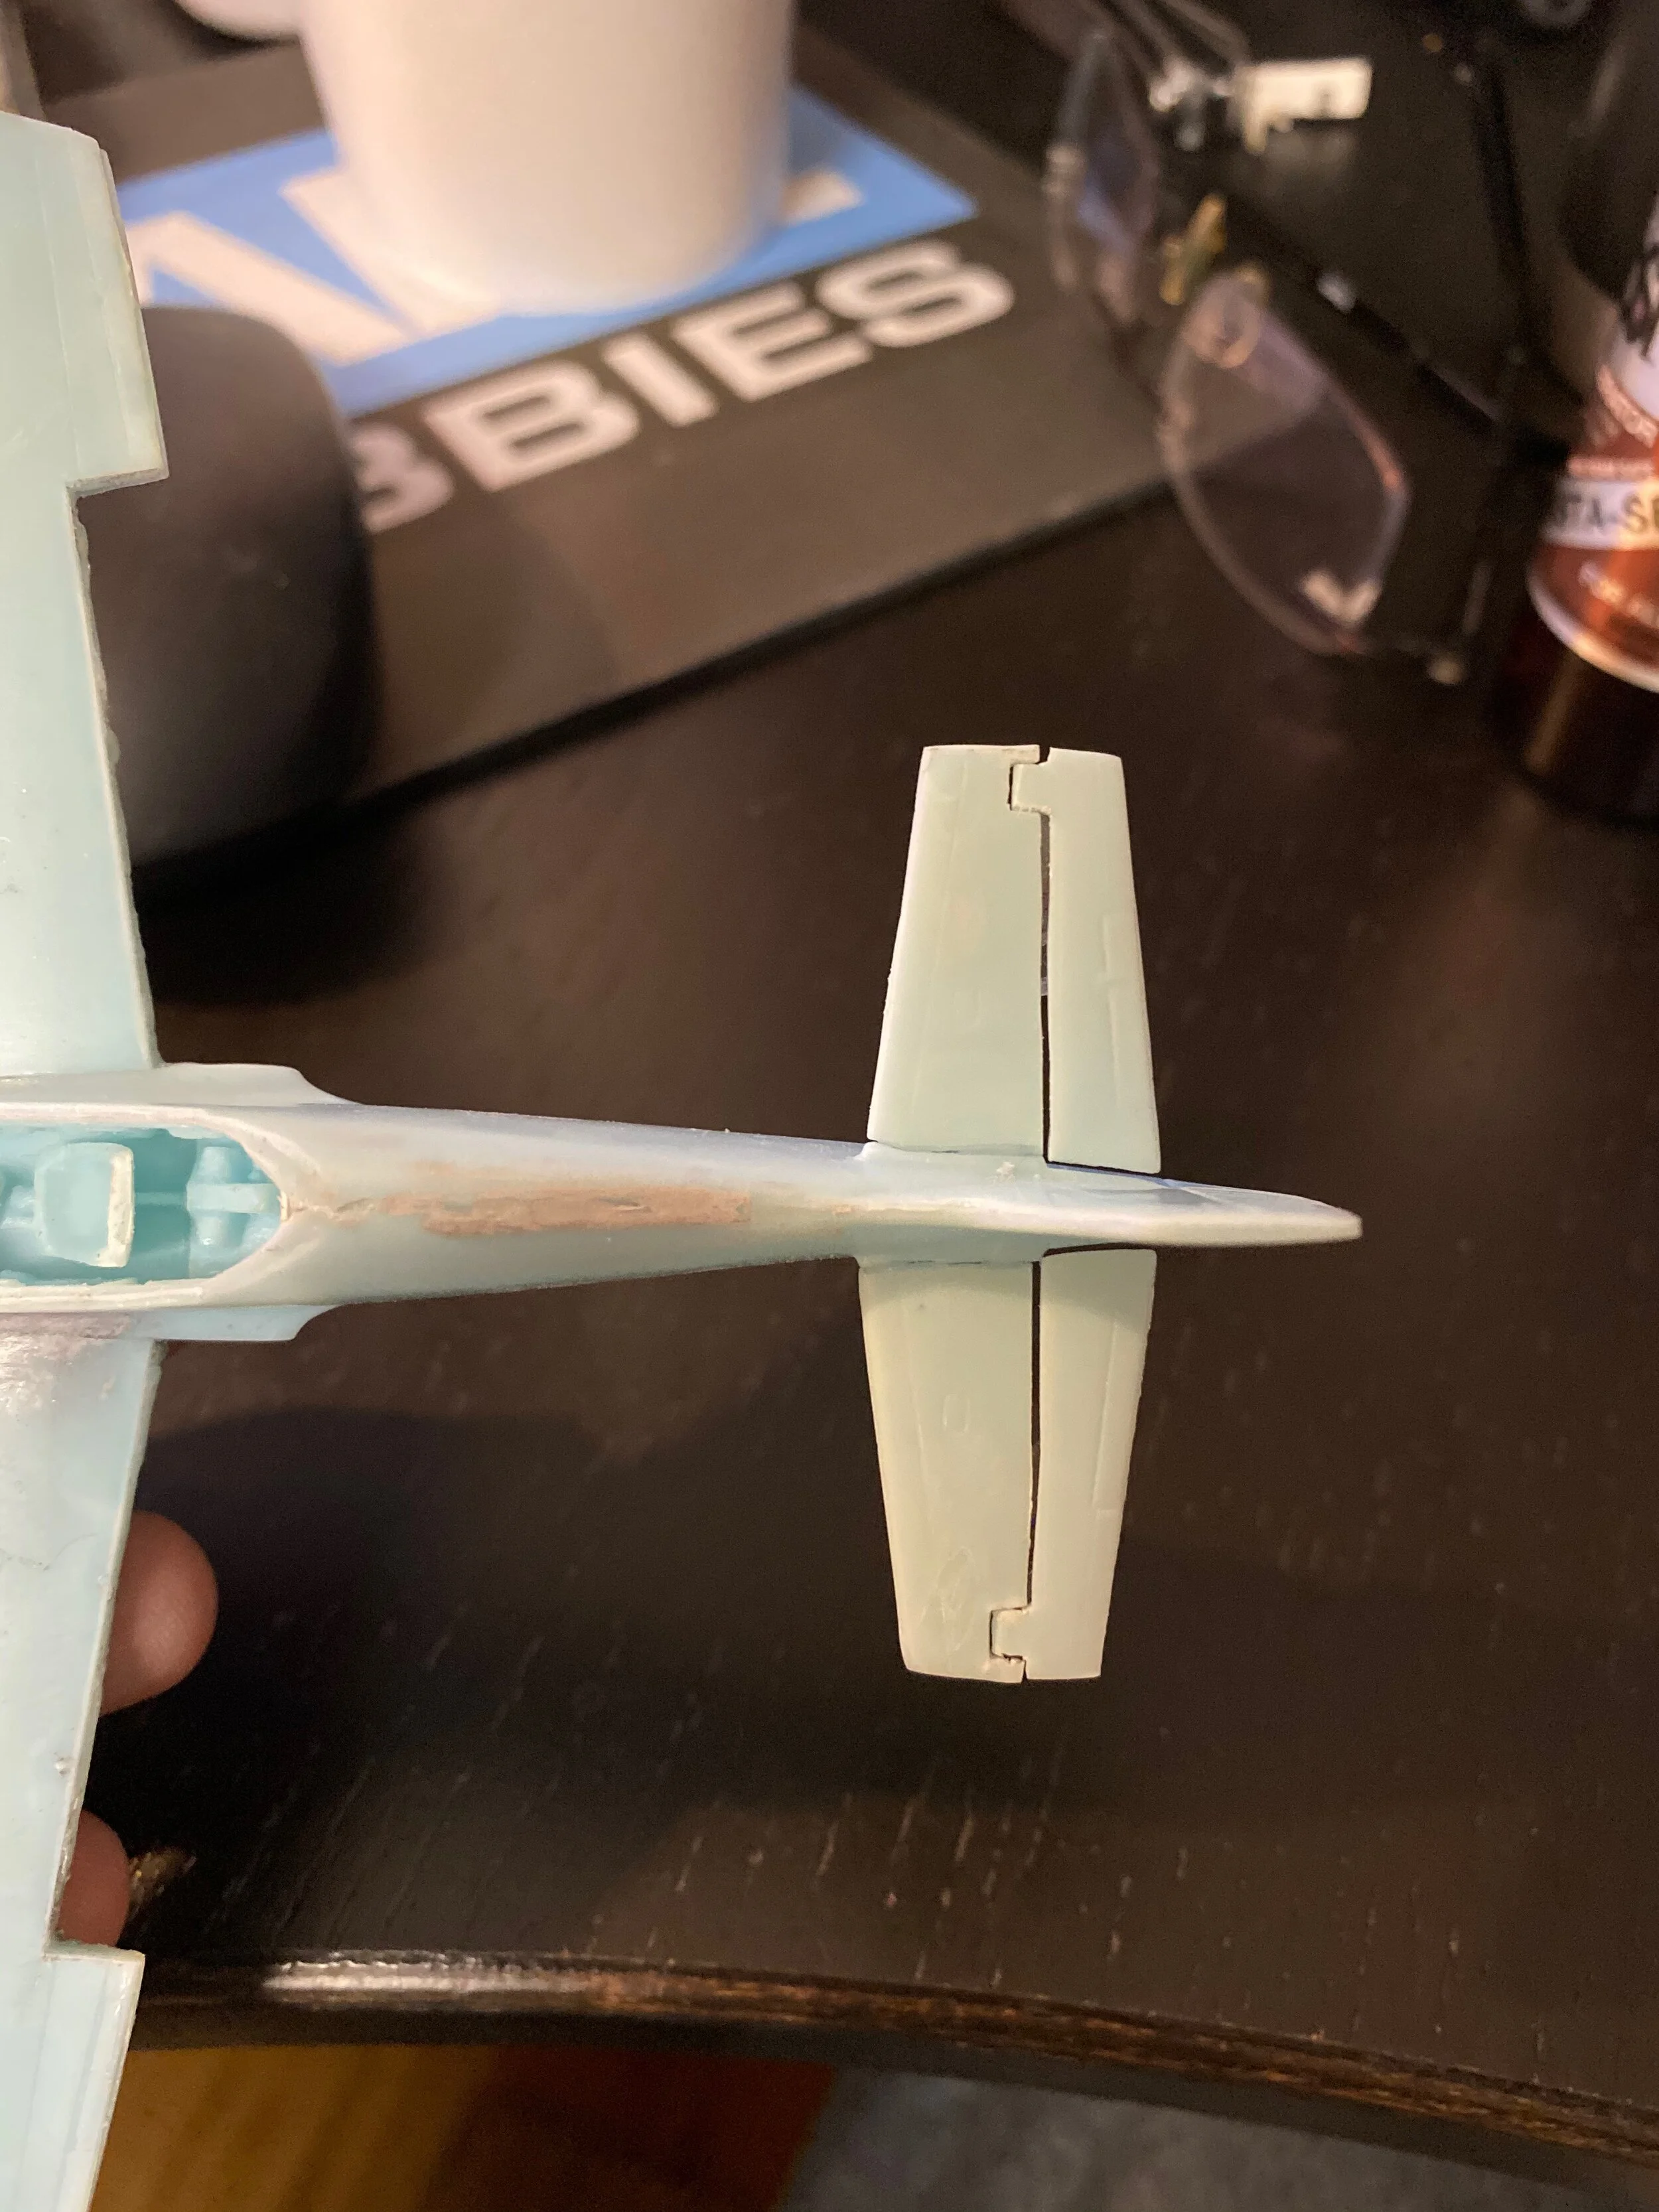
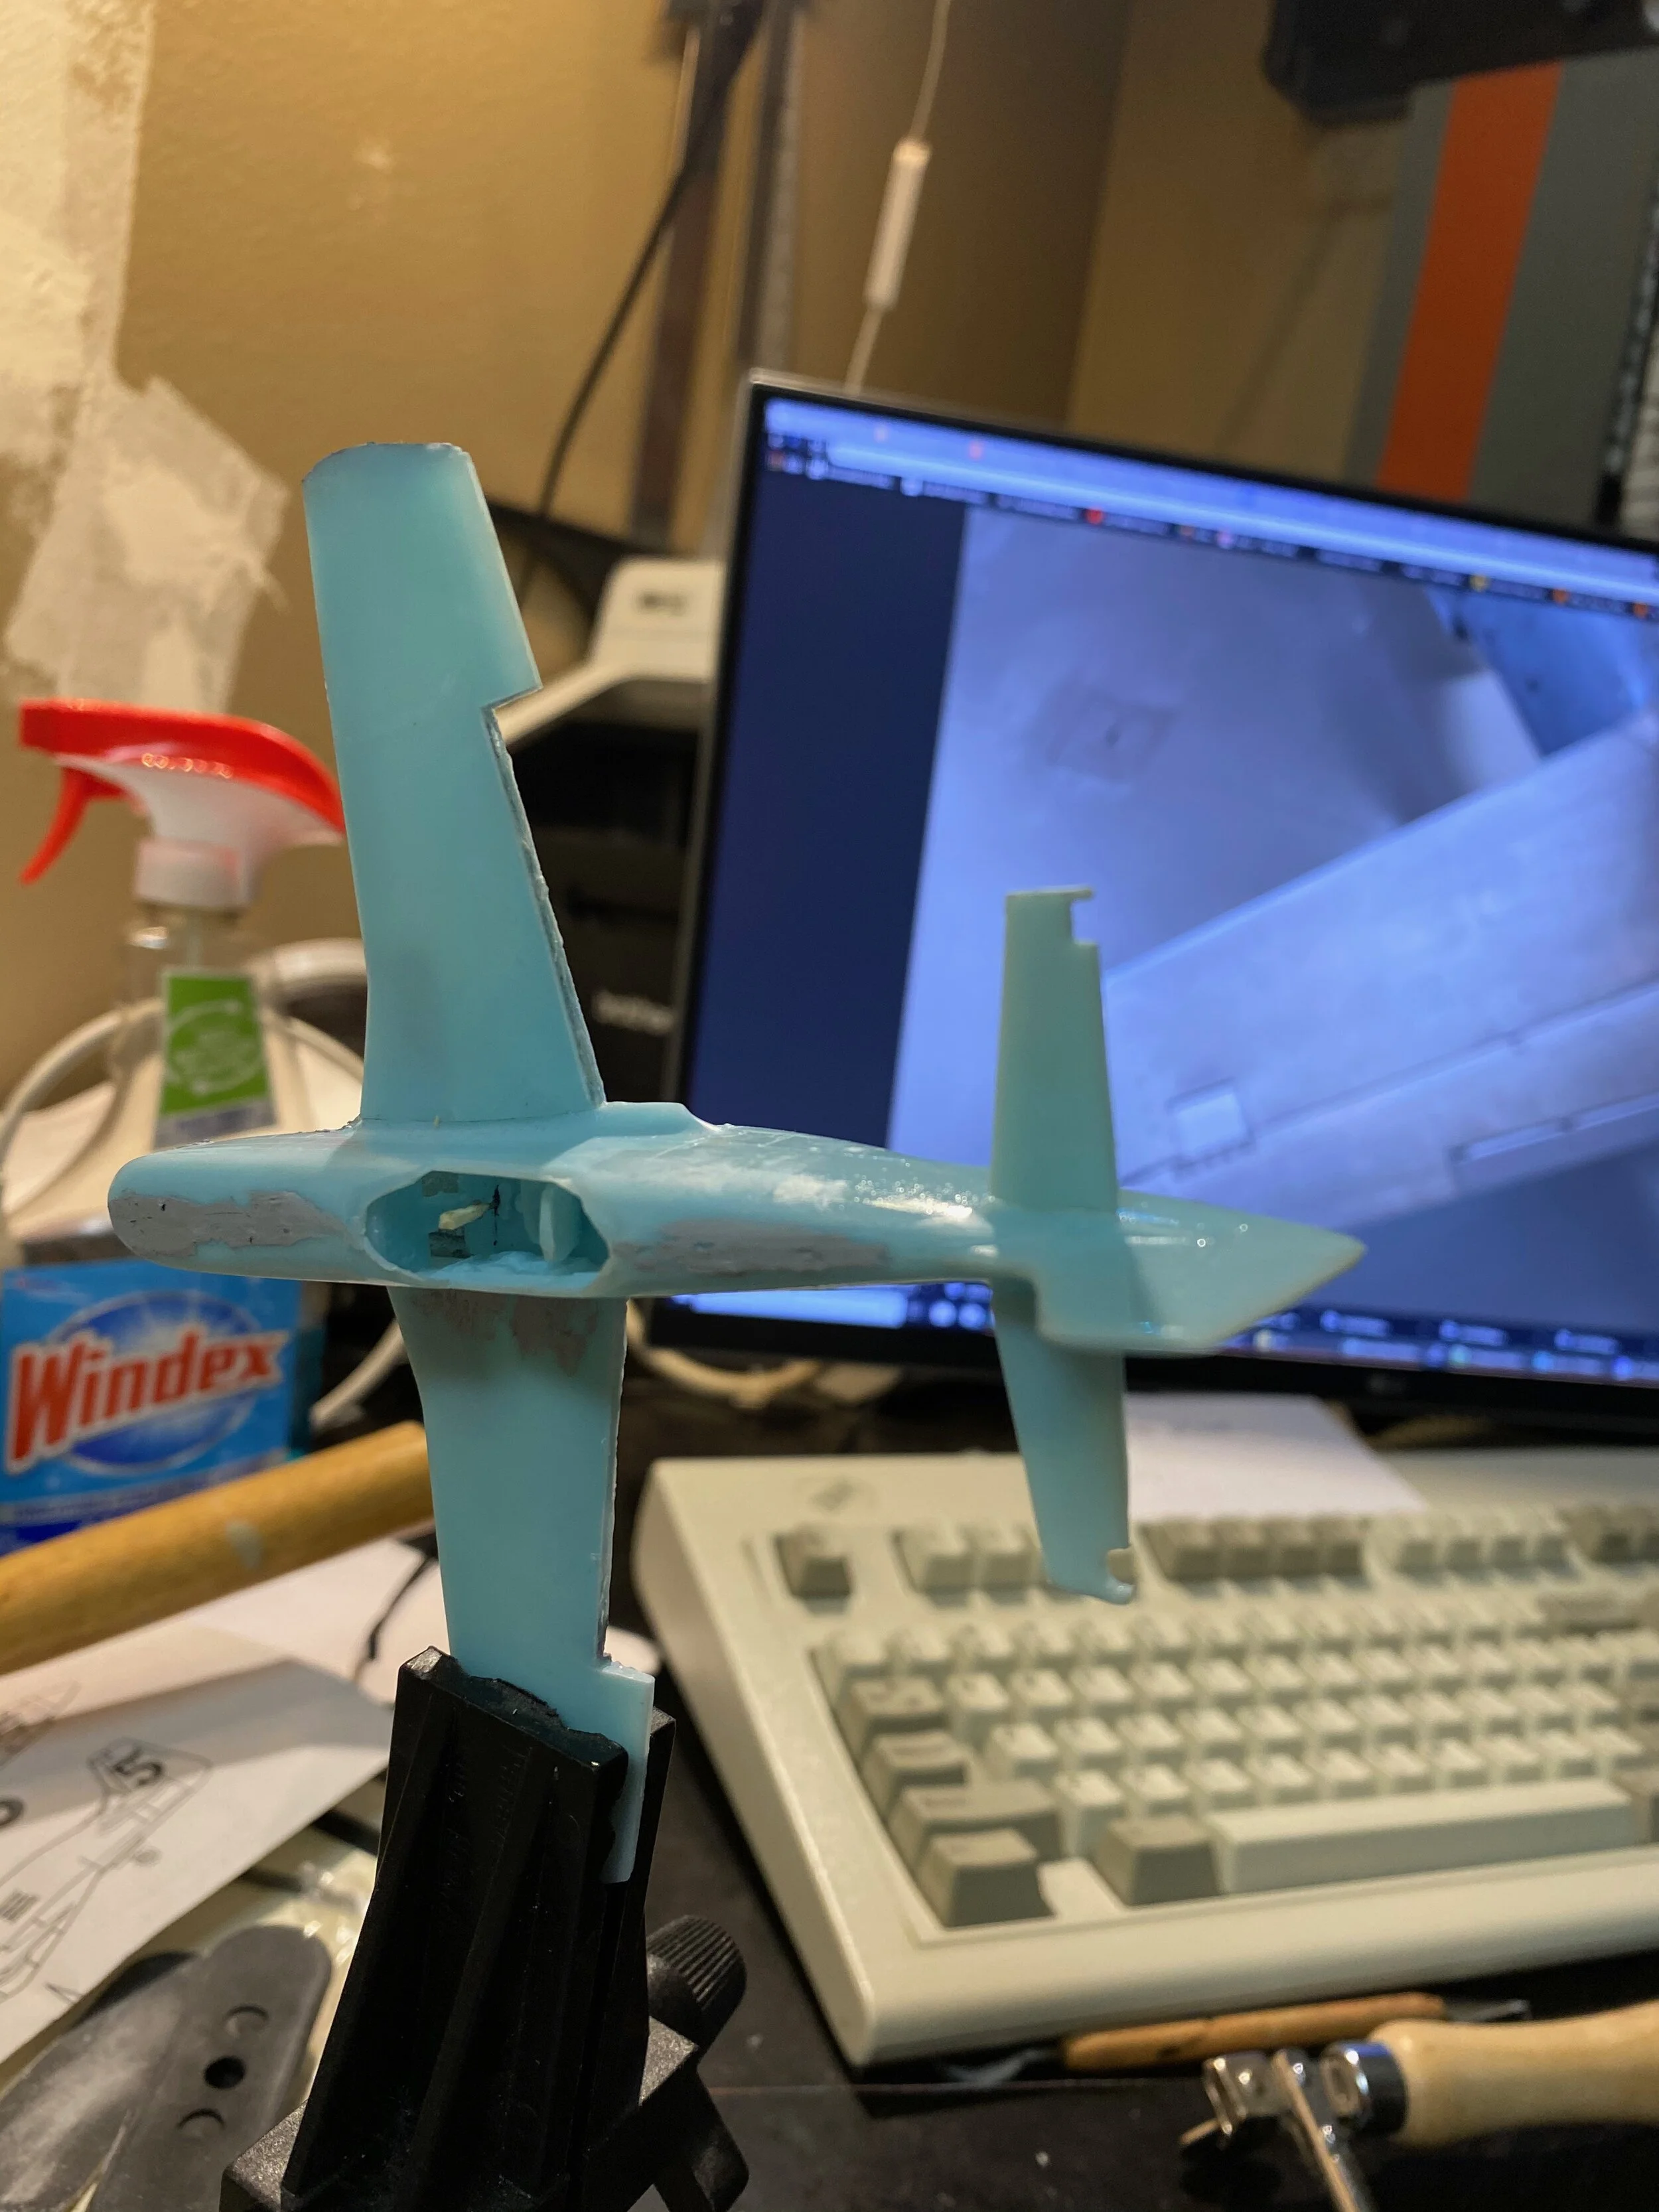
I have always wanted to try cutting out the control surfaces on the formed pieces to add that extra detail. On this kit I tried to complete the cuts using an X-Acto blade. This takes practice and light cuts over and over to make sure you don’t damage the surrounding surface. This technique done with a scoring tool is useful to engraving panel lines but requires more finished sanding. Below are examples of the flaps cut out of the wing and the elevator / horizontal stabilizer in one piece.
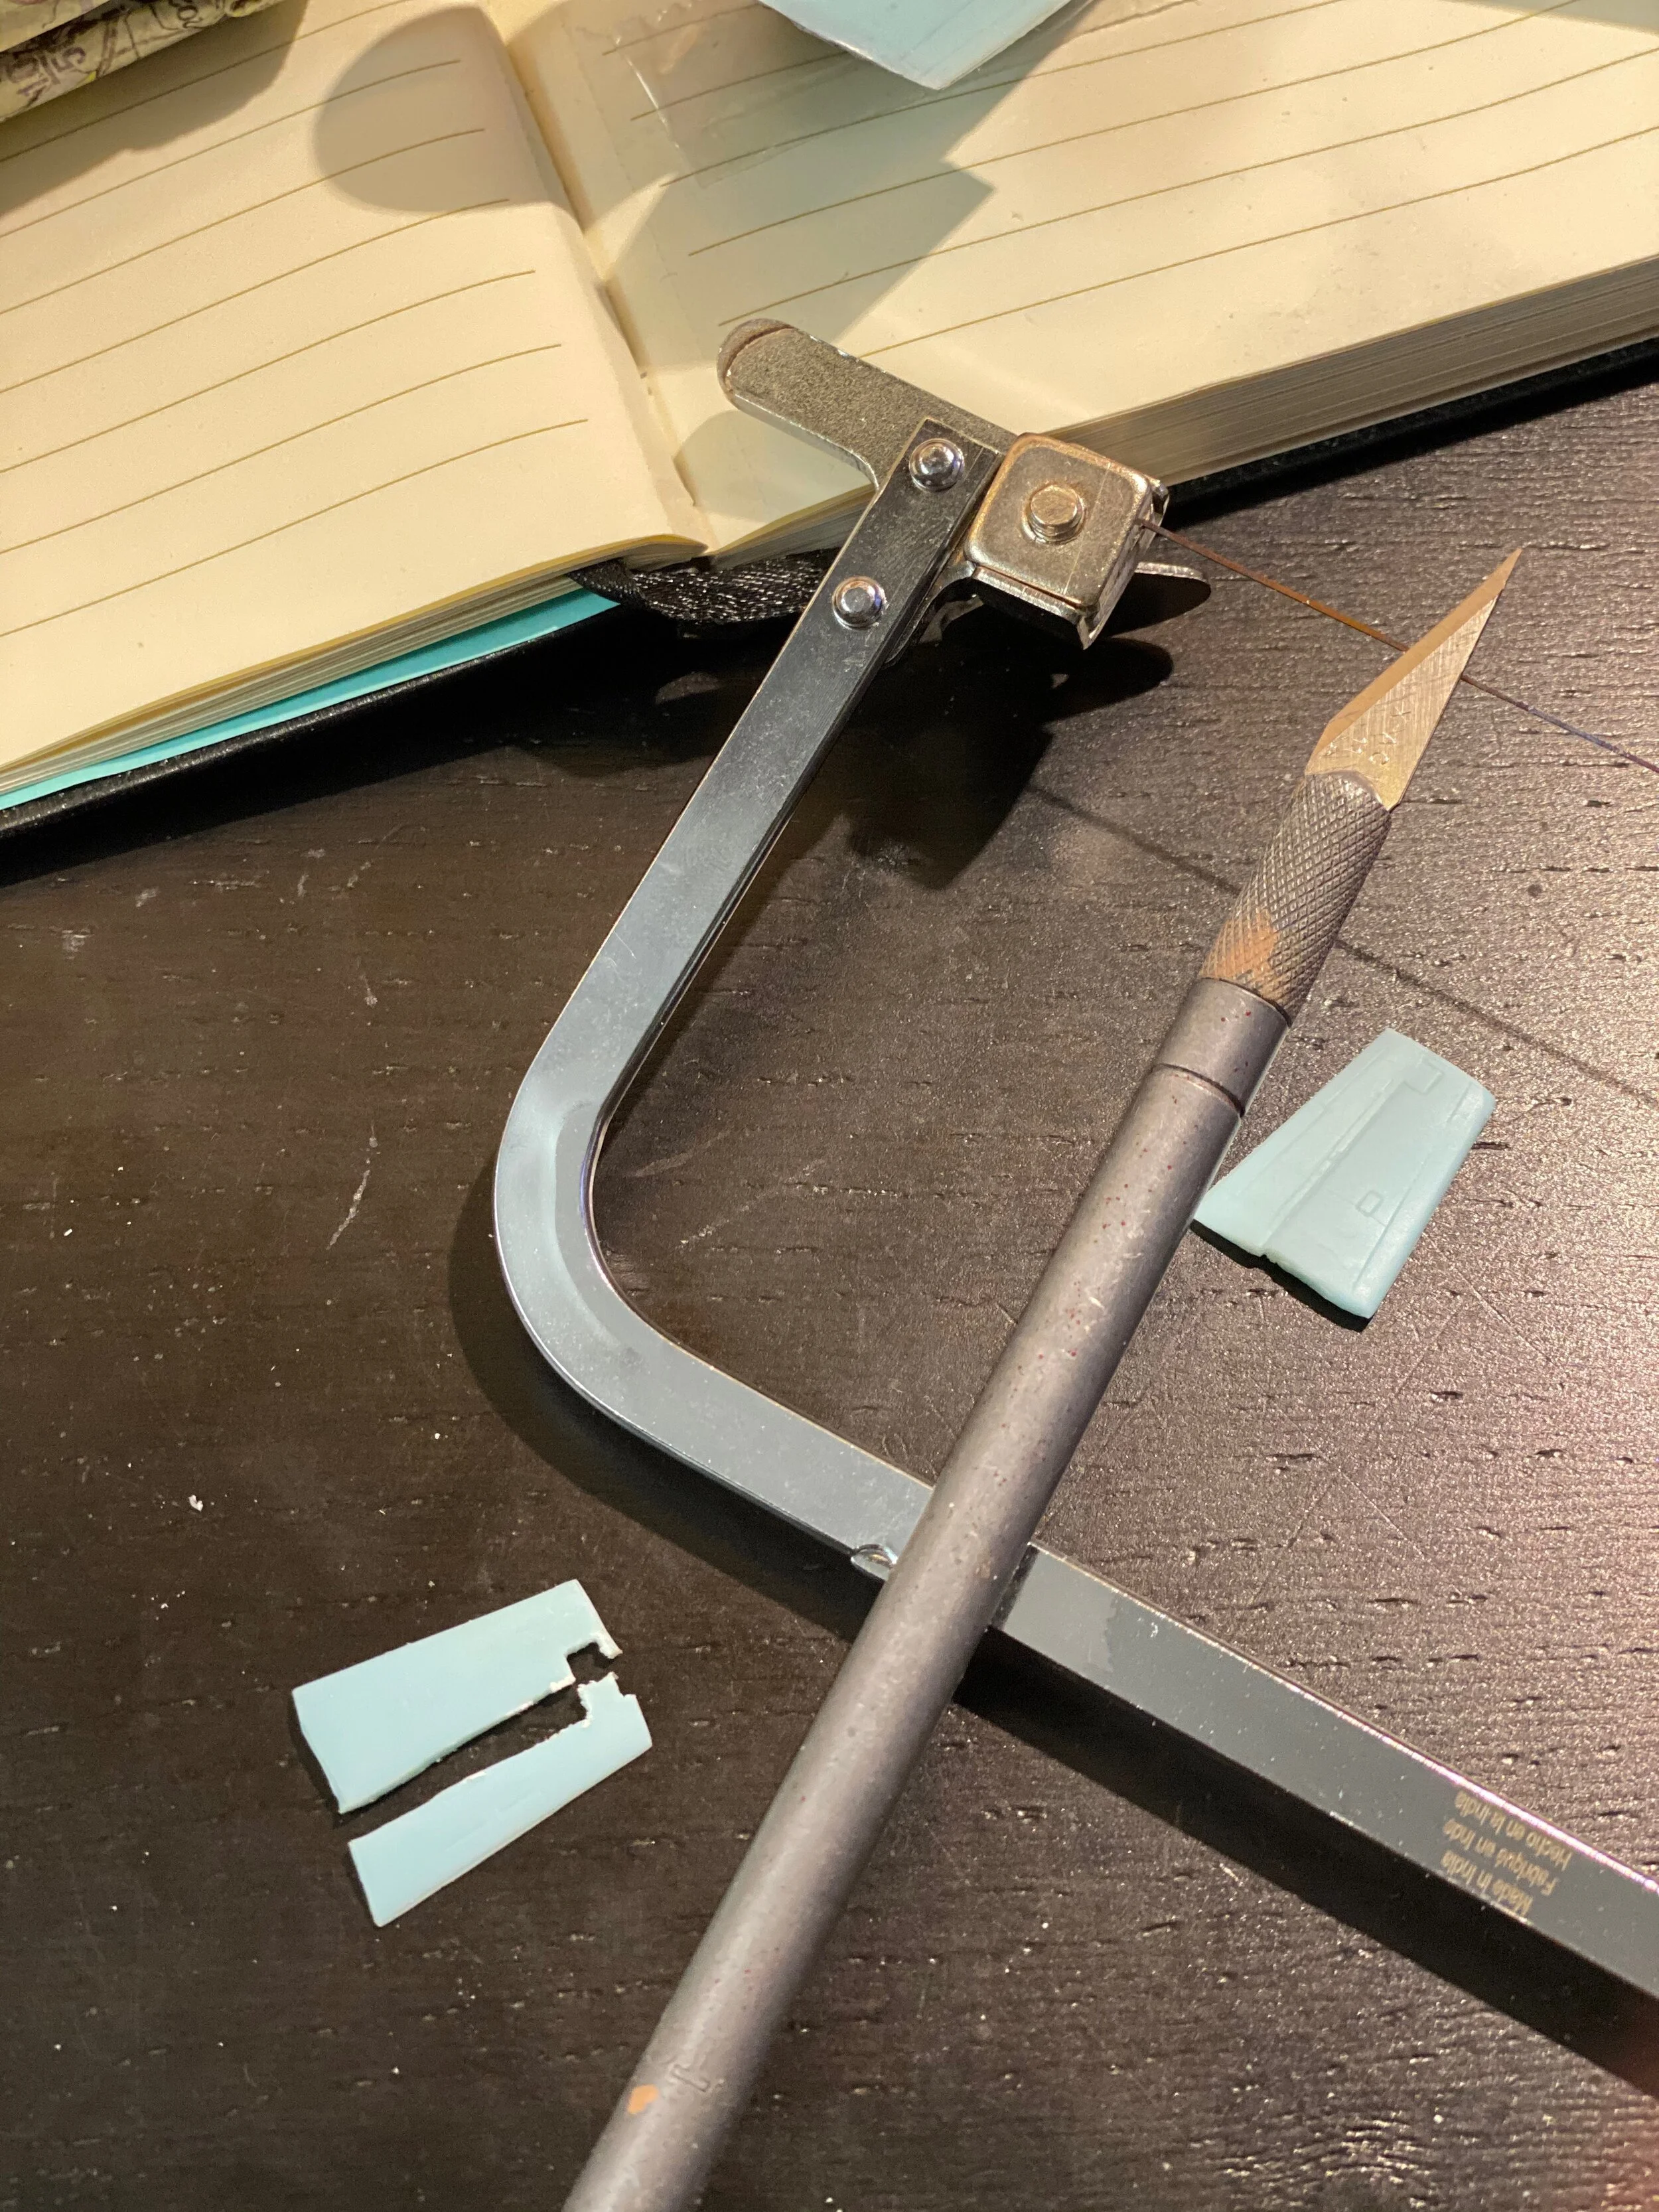
The horizontal stabilizer has a small square section that provides counter-balance weights to help the elevator move easily. This section would require extensive cutting with the X-Acto blade so this is where I transitioned to the jewelers saw. This tool is amazing at the detail you can cut with it. The blades come in various sizes and I’ll be looking to provide some tool tip videos in 2020 highlighting some of the various uses when building scale models. I have positioned the X-Acto blade over the cutting portion so you can compare the size of the cutting blade. You can see the detailed cut this blade provided while cutting out the elevator surfaces.
This level of detail allows me to then go fine sand the cut area to get the right spacing between the parts. I usually can spend up to 30 minutes sanding in areas such as this to ensure a straight line. The human eye is great at picking out non parallel areas and I applied tape to hold the elevator into position with a slight gap to judge the amount of sanding required. The tape can hold it in position now for priming later which will allow me to extract a straighter line alone the seam and add some panel lines to bring out the depth in the horizontal stabilizer.

